Photo Cutout
Note: Photo Cutout is currently only available when editing an image in a timeline within a video project.
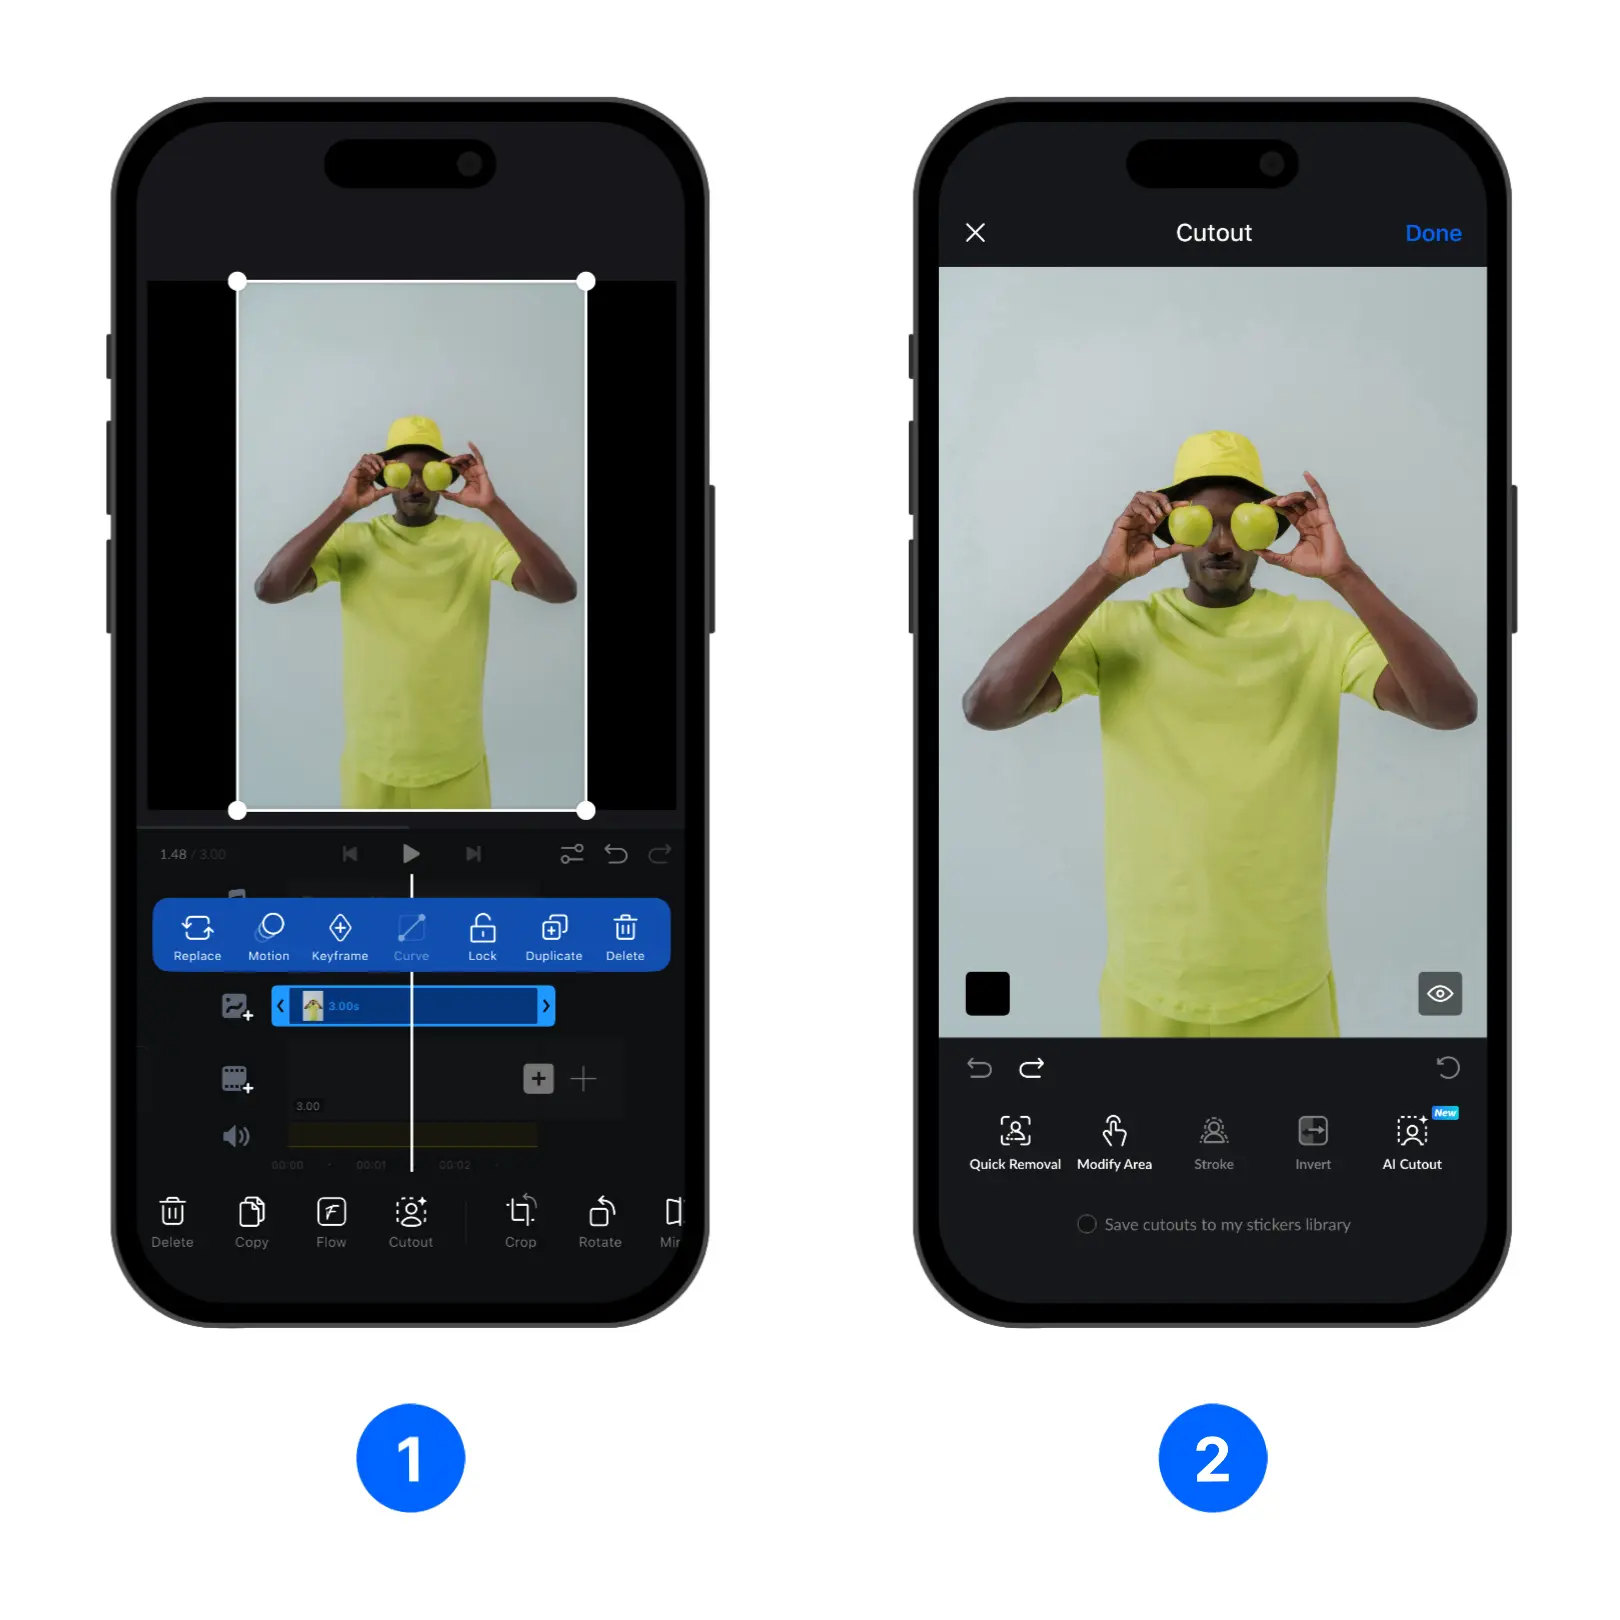
- Select an image clip in the timeline editor, then tap [Cutout] in the clip-editing toolbar.
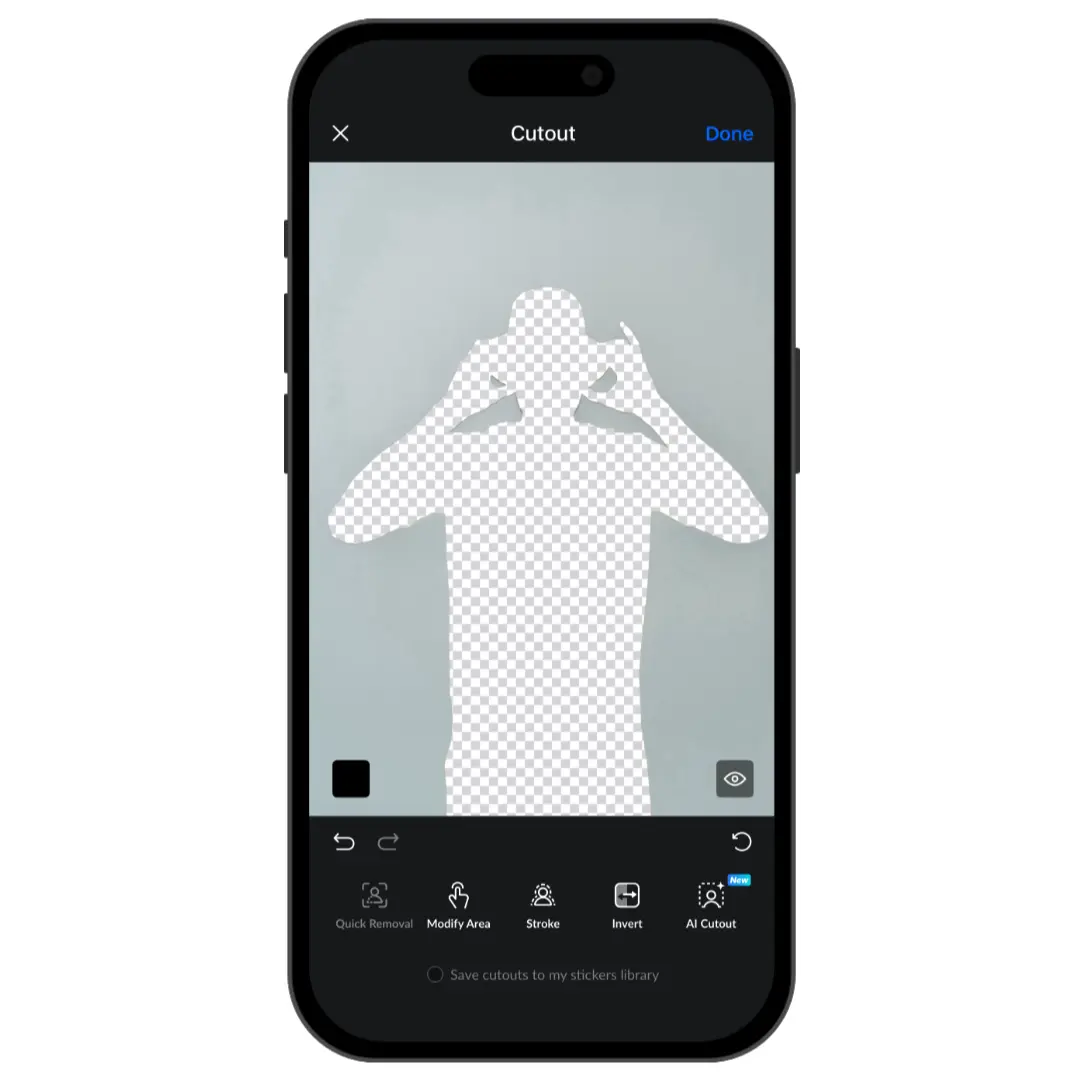
- Use the Cutout interface to access [Quick Removal], [Modify Area], [Stroke], [Invert], and [AI Cutout].
The available background-removal tools work in different ways:
| Tool | Description |
|---|---|
| Quick Removal | Quickly removes a green-screen background with one tap. It works best with images where the person or subject can be clearly distinguished from the background. The process runs entirely offline and on-device, but results may vary depending on the image. |
| Modify Area | Manually remove or restore the background, or remove unwanted parts of the image, using a brush. |
| AI Cutout | Uses AI to remove backgrounds from a wider variety of images, including images that can't be processed by Quick Removal. Using AI Cutout consumes credits. For more information, see Credits. |
Check the [Save cutouts to my stickers library] checkmark to save the cutout result as a sticker that you can use in later projects.
Customize Stroke
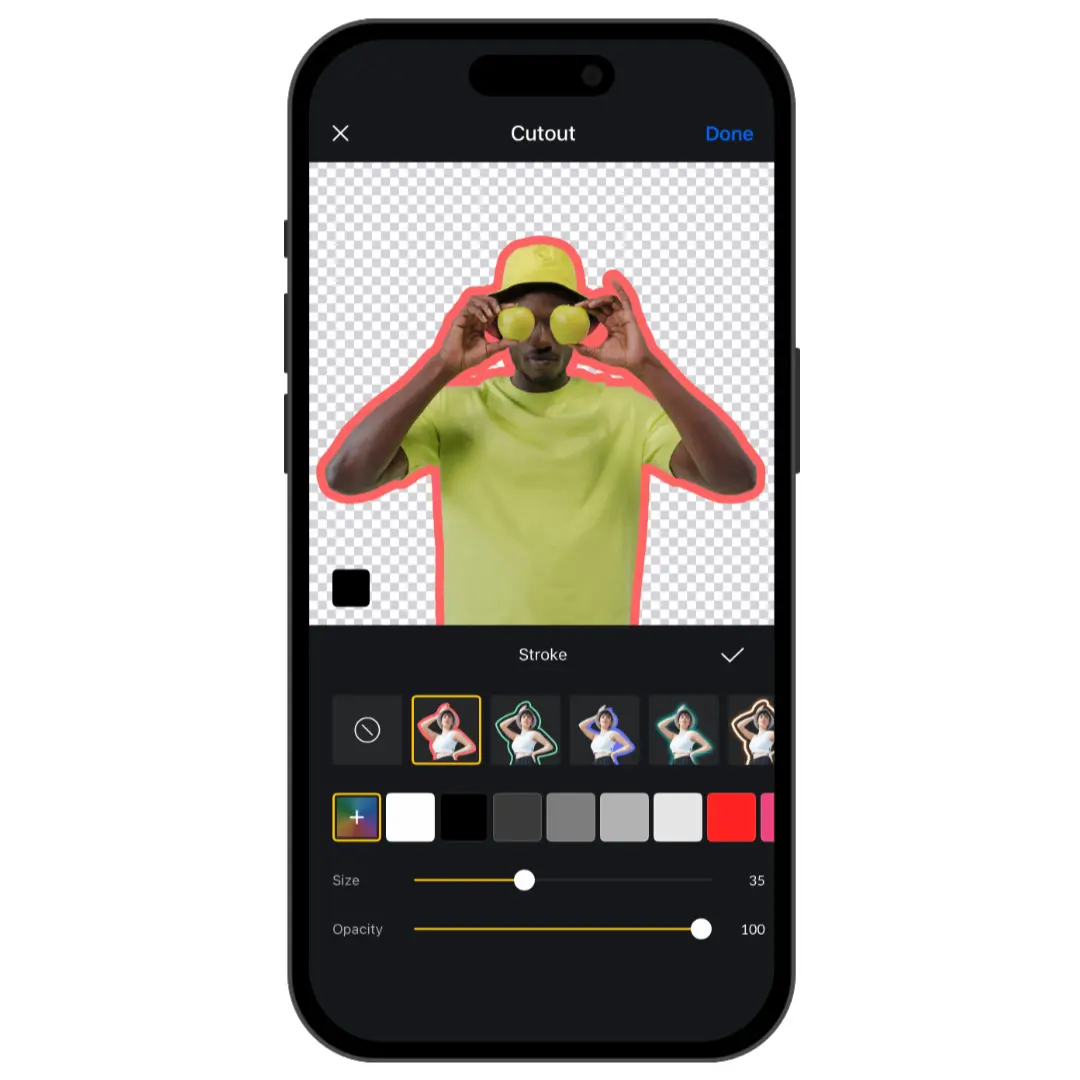
You can add a outline to the character that's been cutout using the [Stroke] function.
- Tap [Stroke] in the Cutout interface.
- Choose a preset stroke style and select a color.
- Adjust the stroke [Size] and [Opacity].
Invert the Cutout
- Tap [Invert] to reverse the selected and transparent areas.
- Review the result in the preview.
- Tap [Done] to apply the cutout.