Filter & Adjust
Filter
Add visual style to an image or clip using preset filters. For more information, see Filters.
Adjust
Use the adjustment tools to fine-tune the appearance of an image or clip.
| Option | Description |
|---|---|
| Exposure | Controls the overall amount of light in the image or clip. |
| Contrast | Increases or decreases the difference between light and dark areas. |
| Brightness | Makes the image or clip lighter or darker. |
| Saturation | Increases or decreases the intensity of all colors. |
| Vibrance | Adjusts color intensity while helping preserve natural-looking skin tones. |
| Temperature | Makes the image or clip appear warmer or cooler. |
| HSL | Adjusts the hue, saturation, and lightness of individual color ranges. |
| Vignette | Darkens or lightens the edges to draw attention toward the center. |
| Sharpen | Enhances edge detail to make the image or clip look clearer. |
| Hue | Changes colors around the color spectrum. |
| Highlights | Adjusts the brightness of the brightest areas. |
| Shadows | Adjusts the brightness and detail in the darkest areas. |
| Noise Reduction | Reduces grain and visual noise, especially in low-light footage. |
Use Flow app
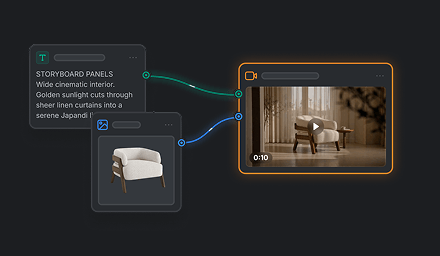
Use the Flow app when you want to build a more structured image or video composition with frames, layouts, grids, backgrounds, or multiple pages. You can prepare the visual layout in Flow, then export it to VN for timeline editing and other finishing work. See Create a VN Template With Flow for details.
Cutout
Cutout lets you separate a subject from its background when editing an image or video clip in the timeline of a video project. Select the clip and tap [Cutout]. For image clips, use [Quick Removal], [Modify Area], or [AI Cutout] as needed. Adjust [Feather] and [Expand] for better results. You can also add a stroke or invert the cutout result for image clips. Learn more in Cutout Tool.
Transform
Use the transform tools to change the framing and orientation of an image or clip.
[Crop] changes the visible area of an image or clip. It offers many preset aspect ratios, such as [9:16], [1:1], [16:9], and more, along with [Original] to keep the image's original aspect ratio. Select [Free] to create a customized crop without a fixed aspect ratio, or drag the corners of the crop frame to define the visible area yourself.
The Crop interface also includes a rotation control. This is different from the [Rotate] function outside the Crop interface: [Rotate] turns the entire image or clip 90 degrees at a time, while rotation in the Crop interface rotates the image and crops it within the selected frame.
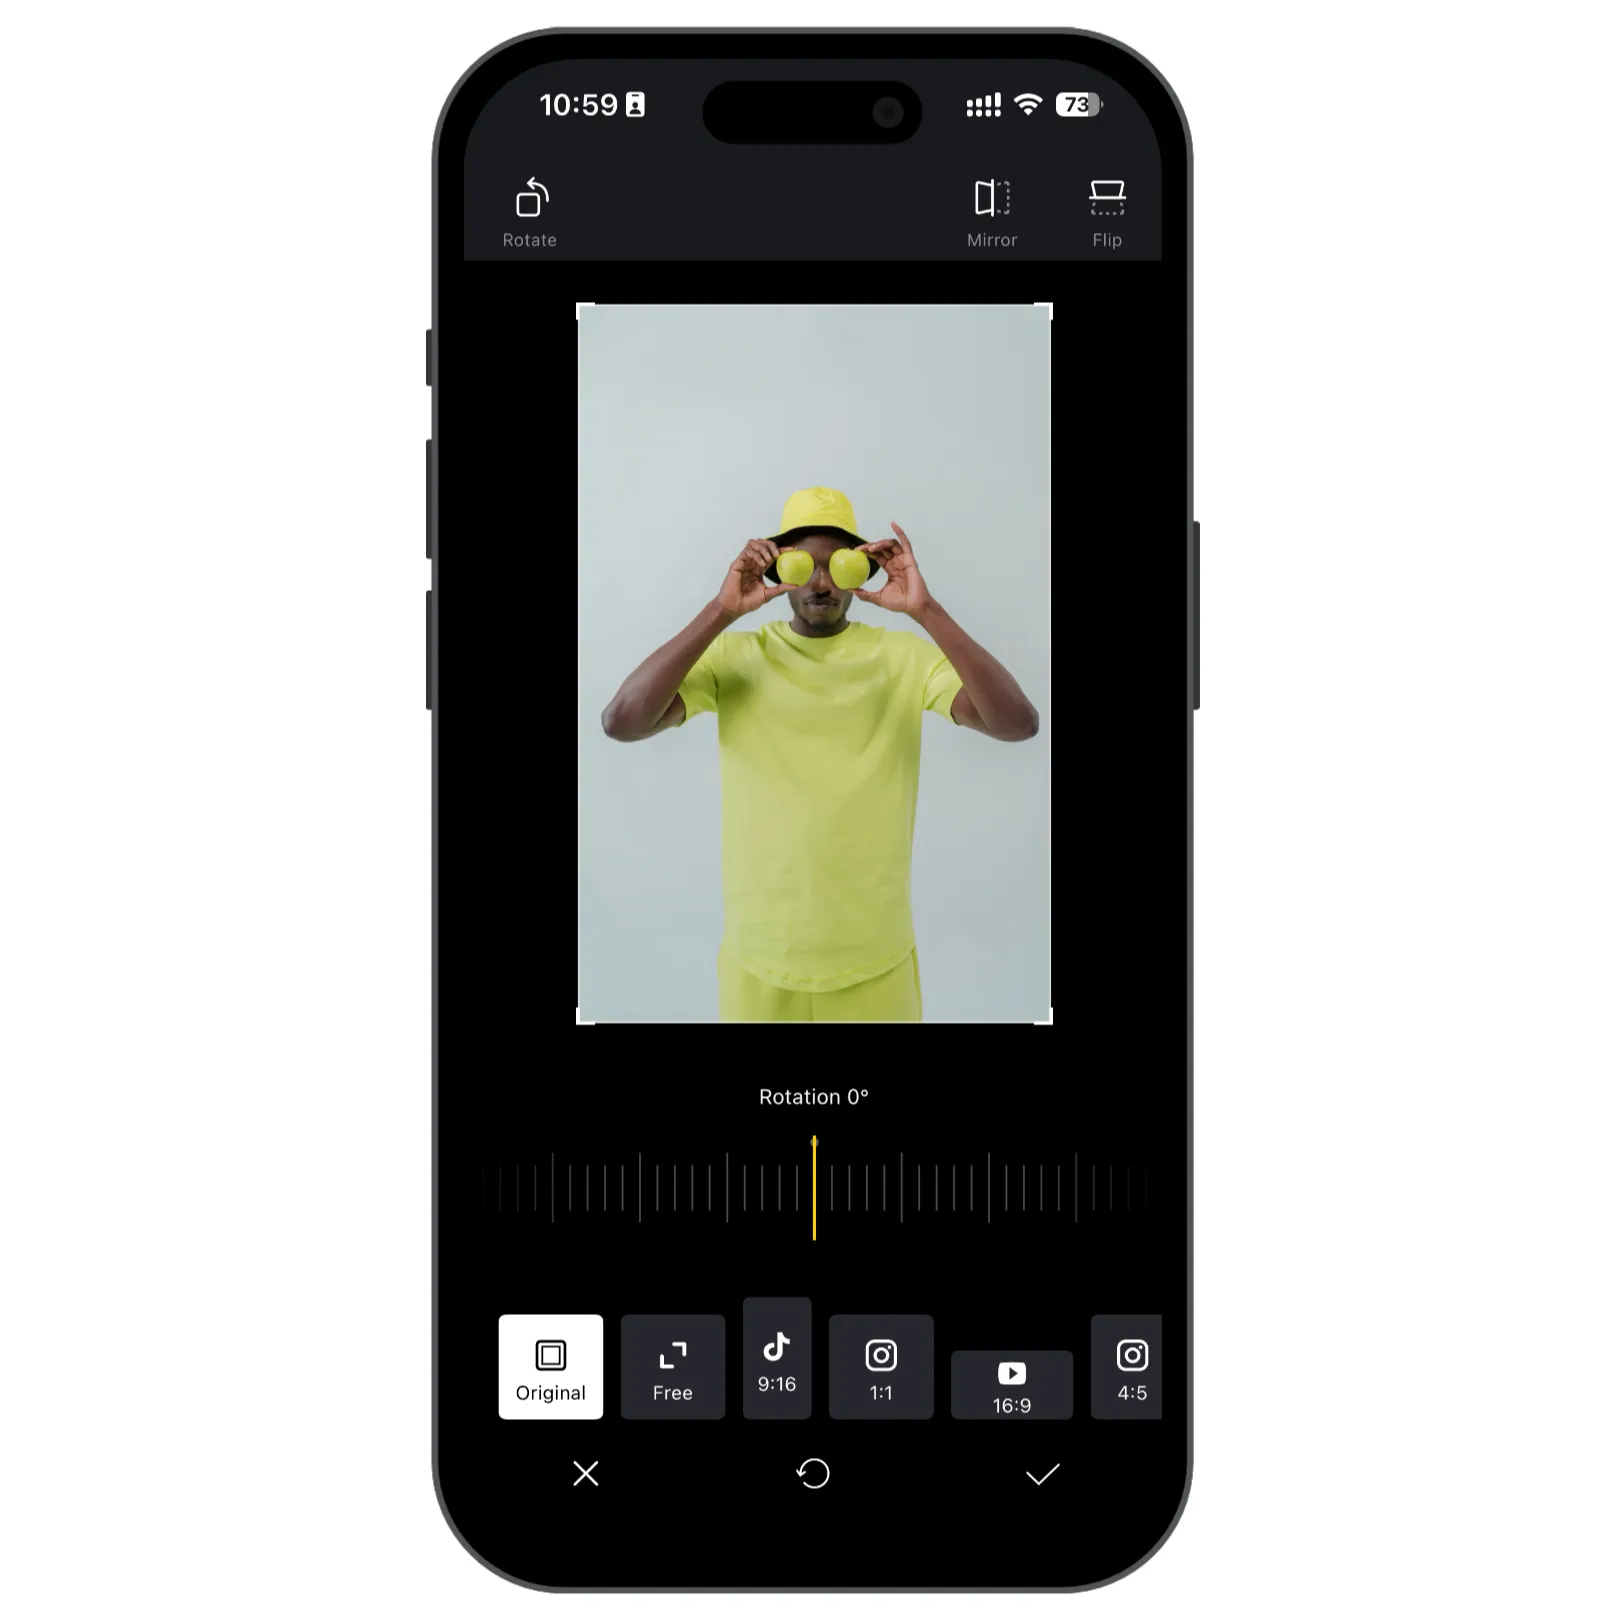
The other transform tools are:
| Option | Description |
|---|---|
| Rotate | Rotates the image or clip 90 degrees each time you tap it. |
| Mirror | Flips the image or clip horizontally. |
| Flip | Flips the image or clip vertically. |
| Fit | Matches either the vertical border or horizontal border of the image or clip to the edge of the canvas or video frame. |
Background (BG)
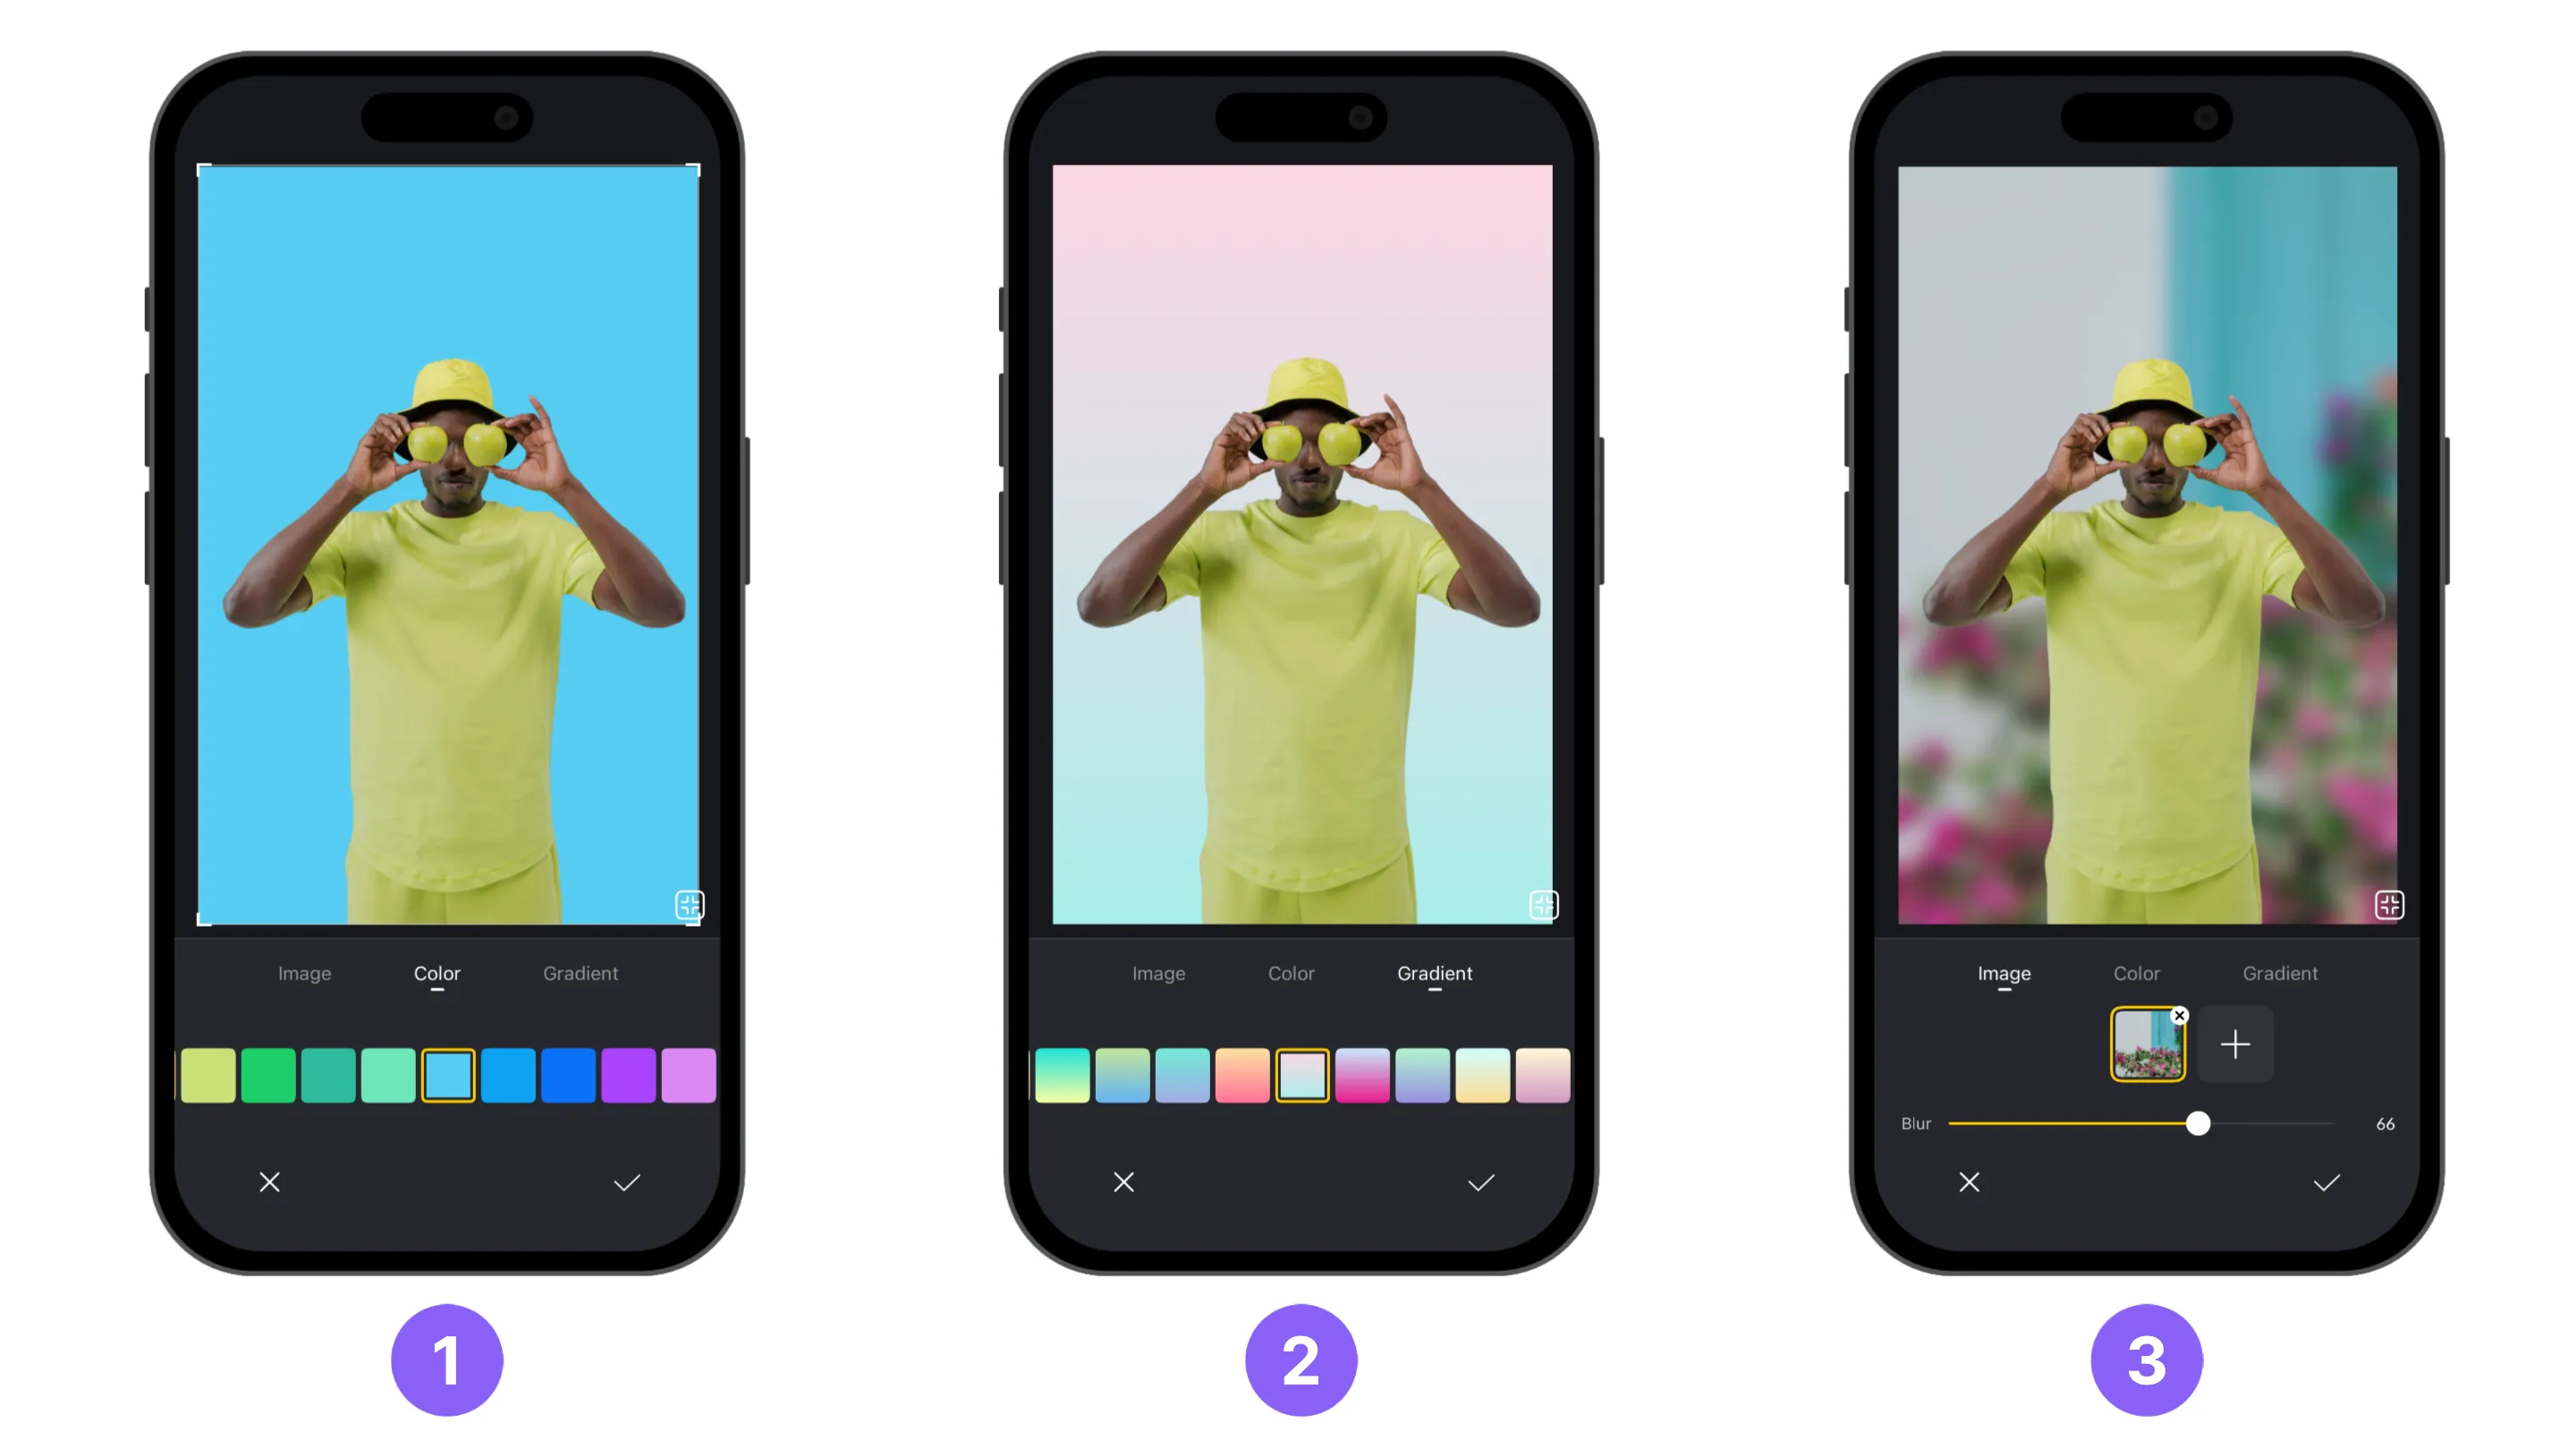
Tap [BG] from the photo-editing toolbar. Resize the current photo as needed. If it has a transparent alpha channel, the background appears behind the transparent areas.
Note: While editing in a video project, only an image or clip in the main track has the option to adjust the background.
- [Color] let you add solid color as the background.
- [Gradient] will set a background with gradual color shift from top to bottom between two colors.
- [Image] choose a photo from your phone’s album and set it as the background. Adjust [Blur] to control the background softness.
Blur
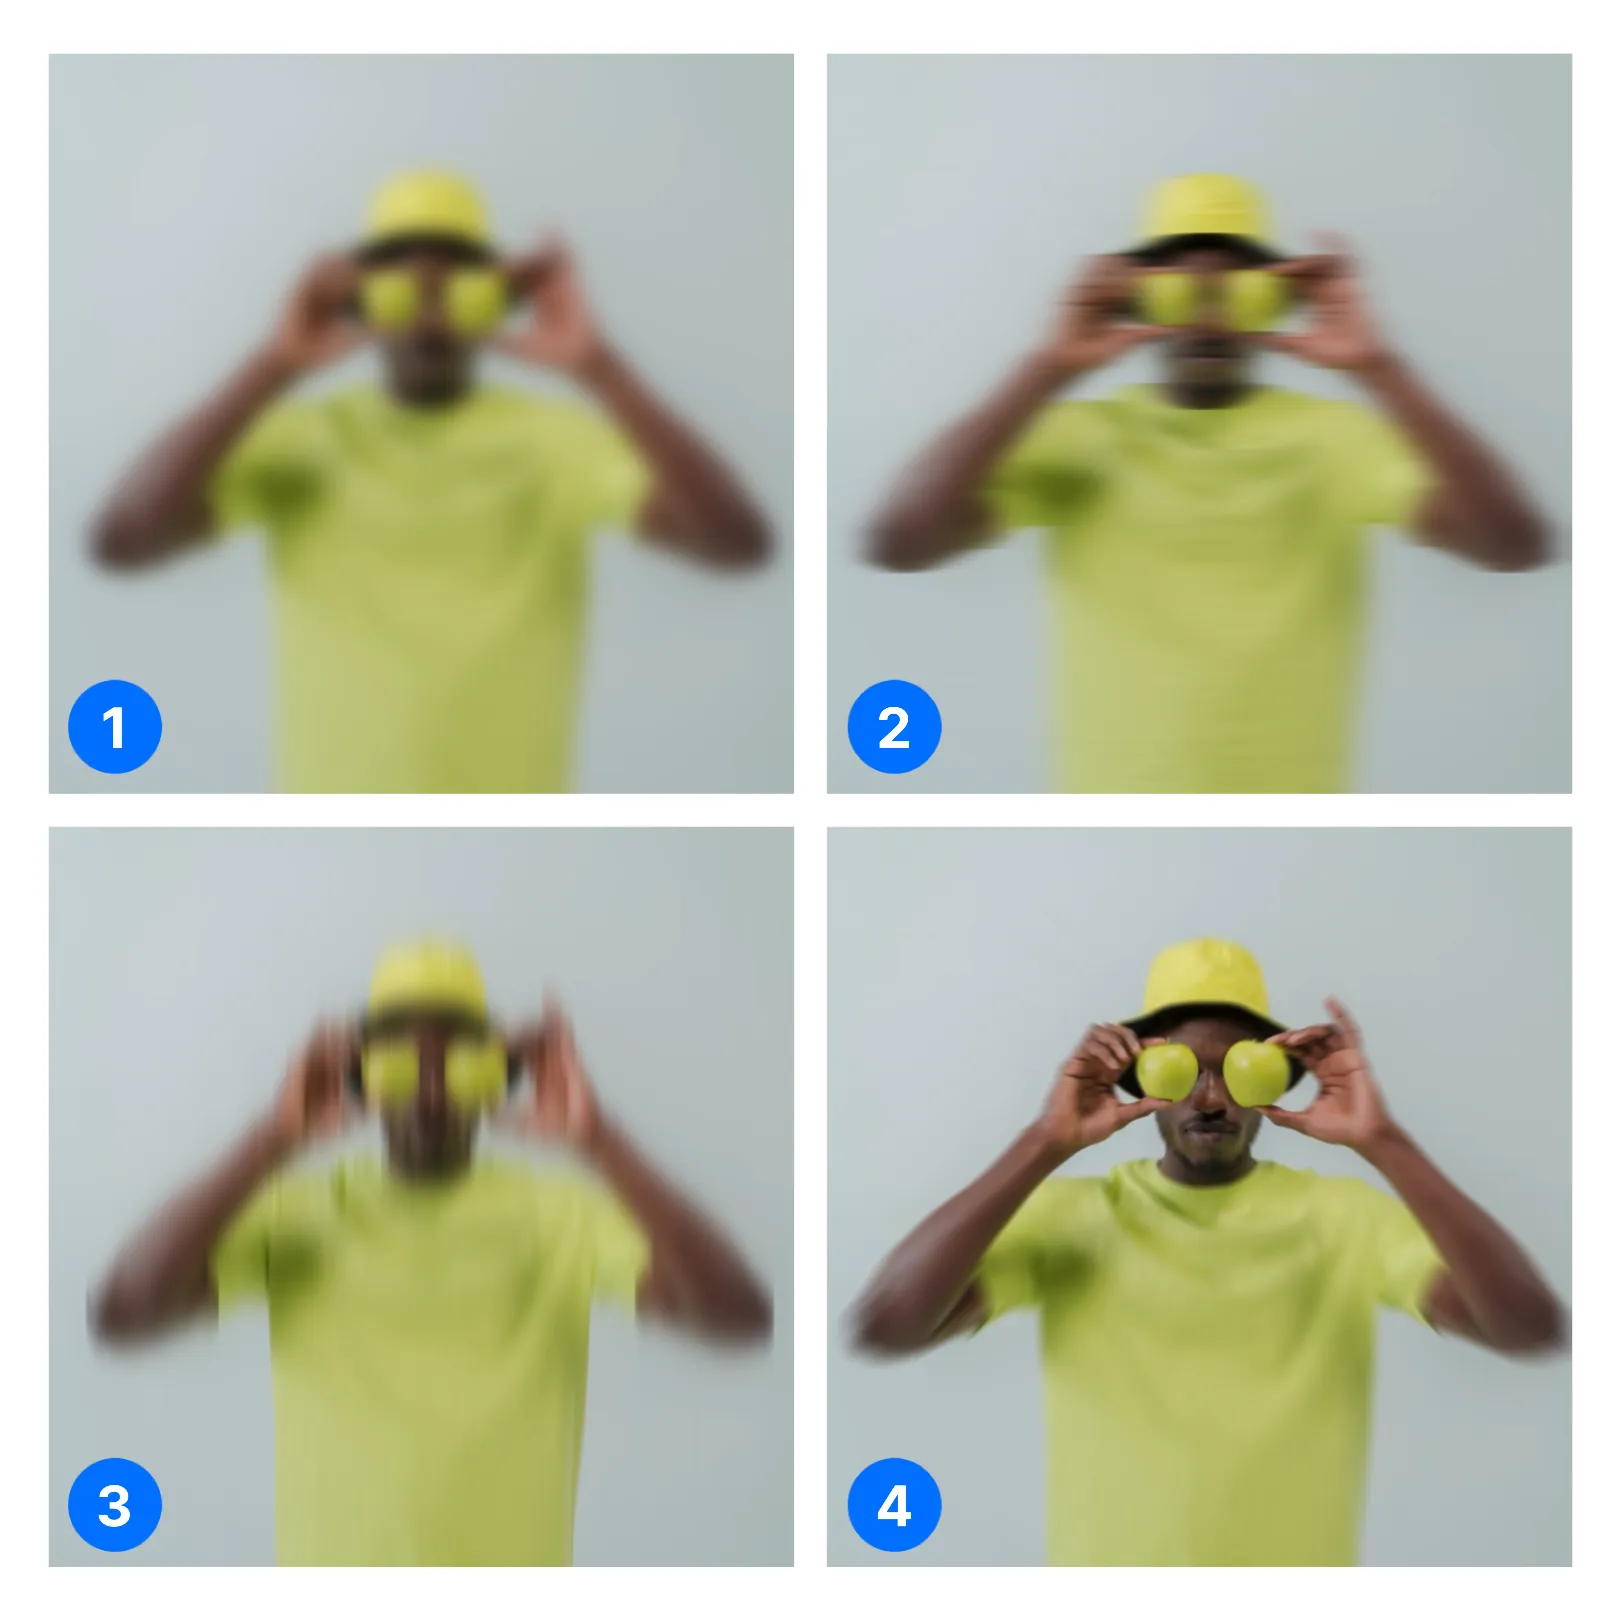
Blur applies a blur effect to the image or clip. Choose one of the available styles and adjust the blur amount as needed.
- [Base]: Applies an even blur across the image or clip.
- [Horizontal]: Stretches the blur horizontally to create directional motion.
- [Vertical]: Stretches the blur vertically to create directional motion.
- [Radioactive]: Creates a radial blur that spreads outward from a movable center point. The blur becomes weaker closer to the center and stronger farther away.
Opacity
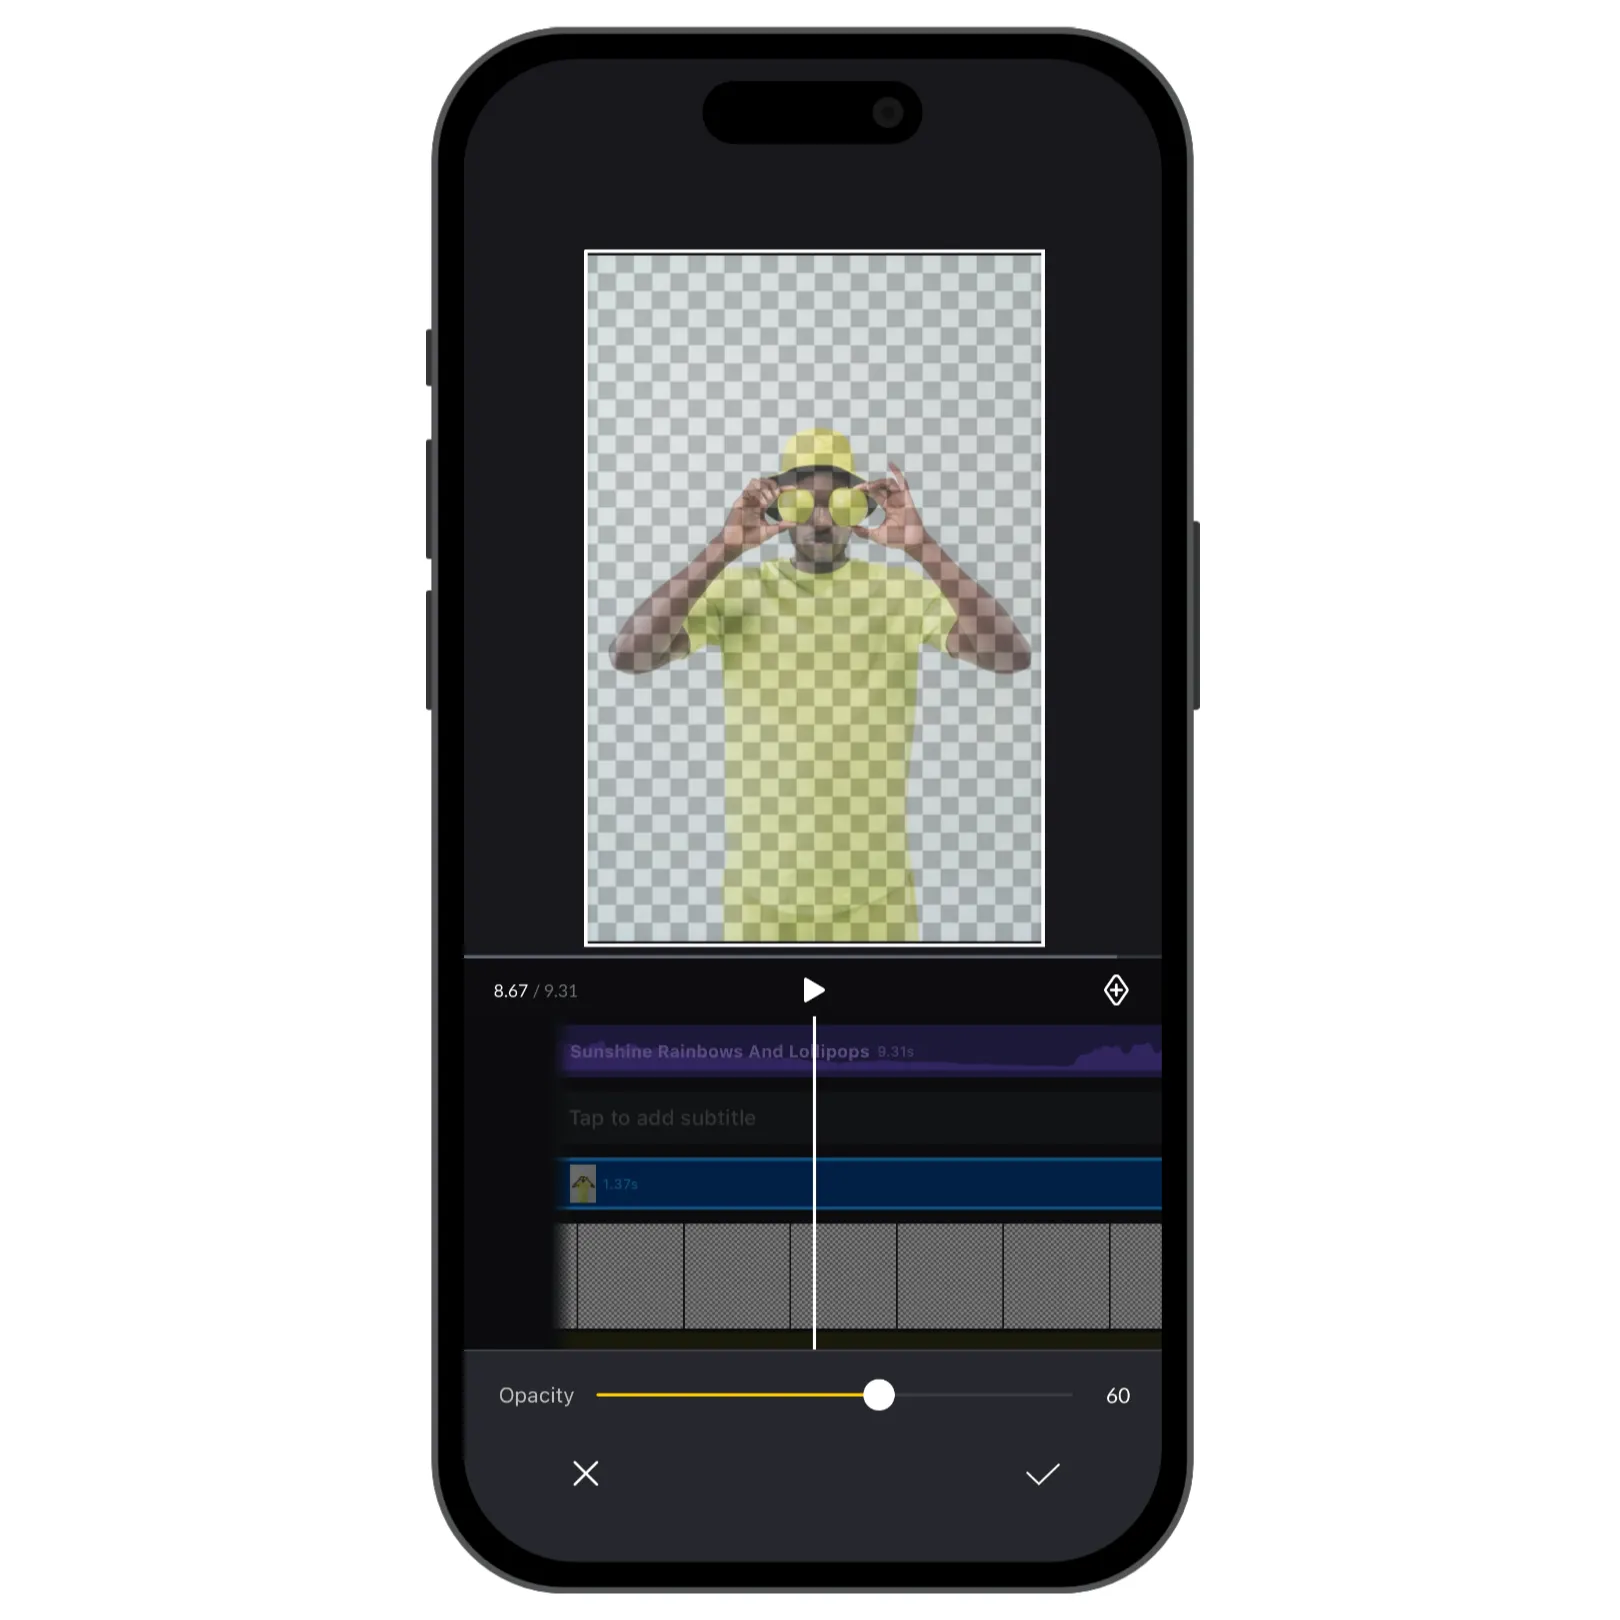
Opacity controls how transparent the image or clip appears.
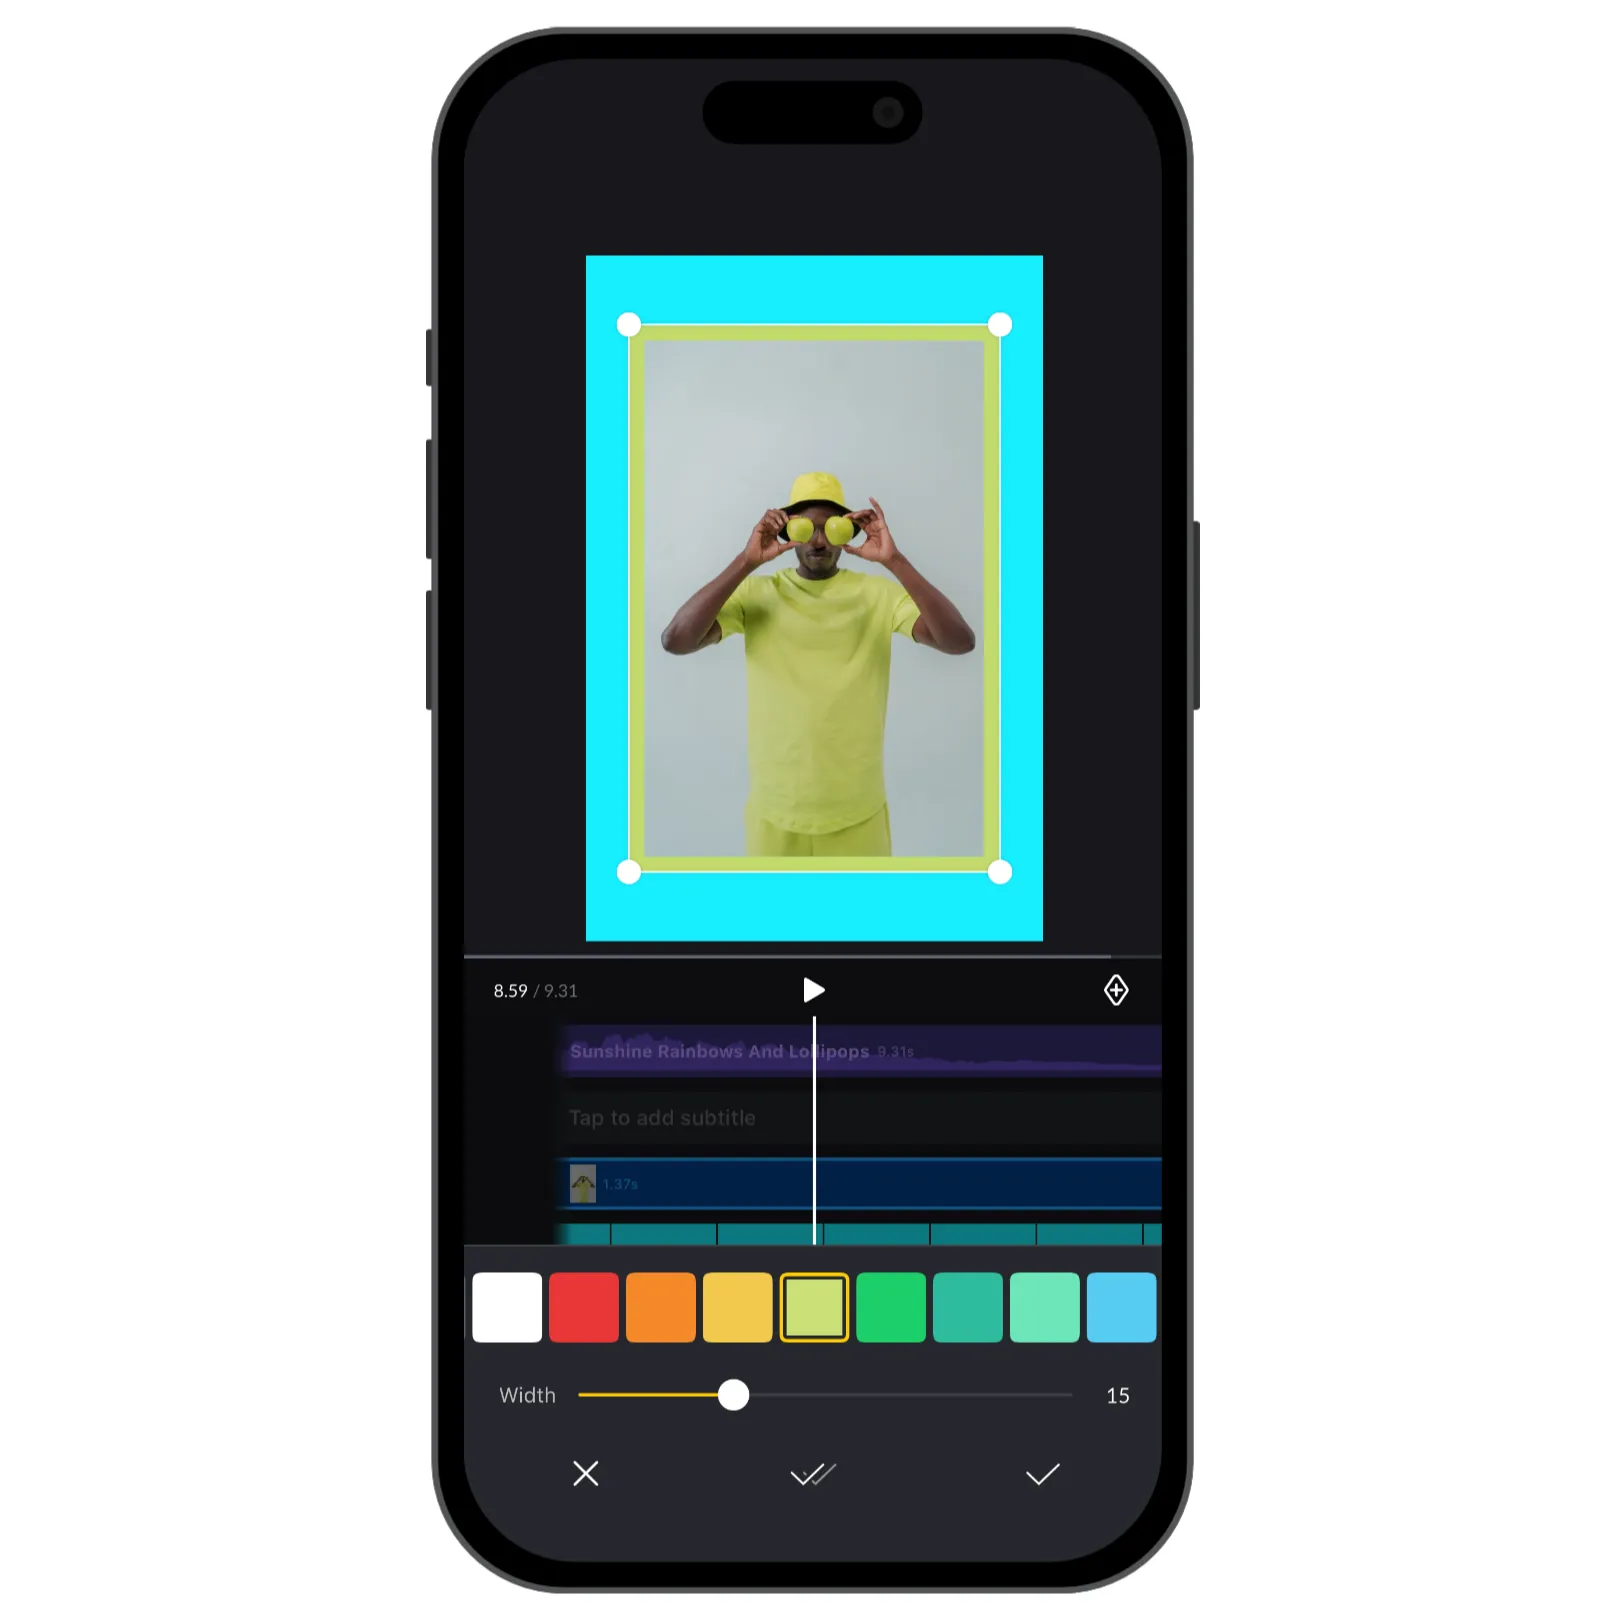
Border
Border adds a colored border around the edge of the image or clip.
Position
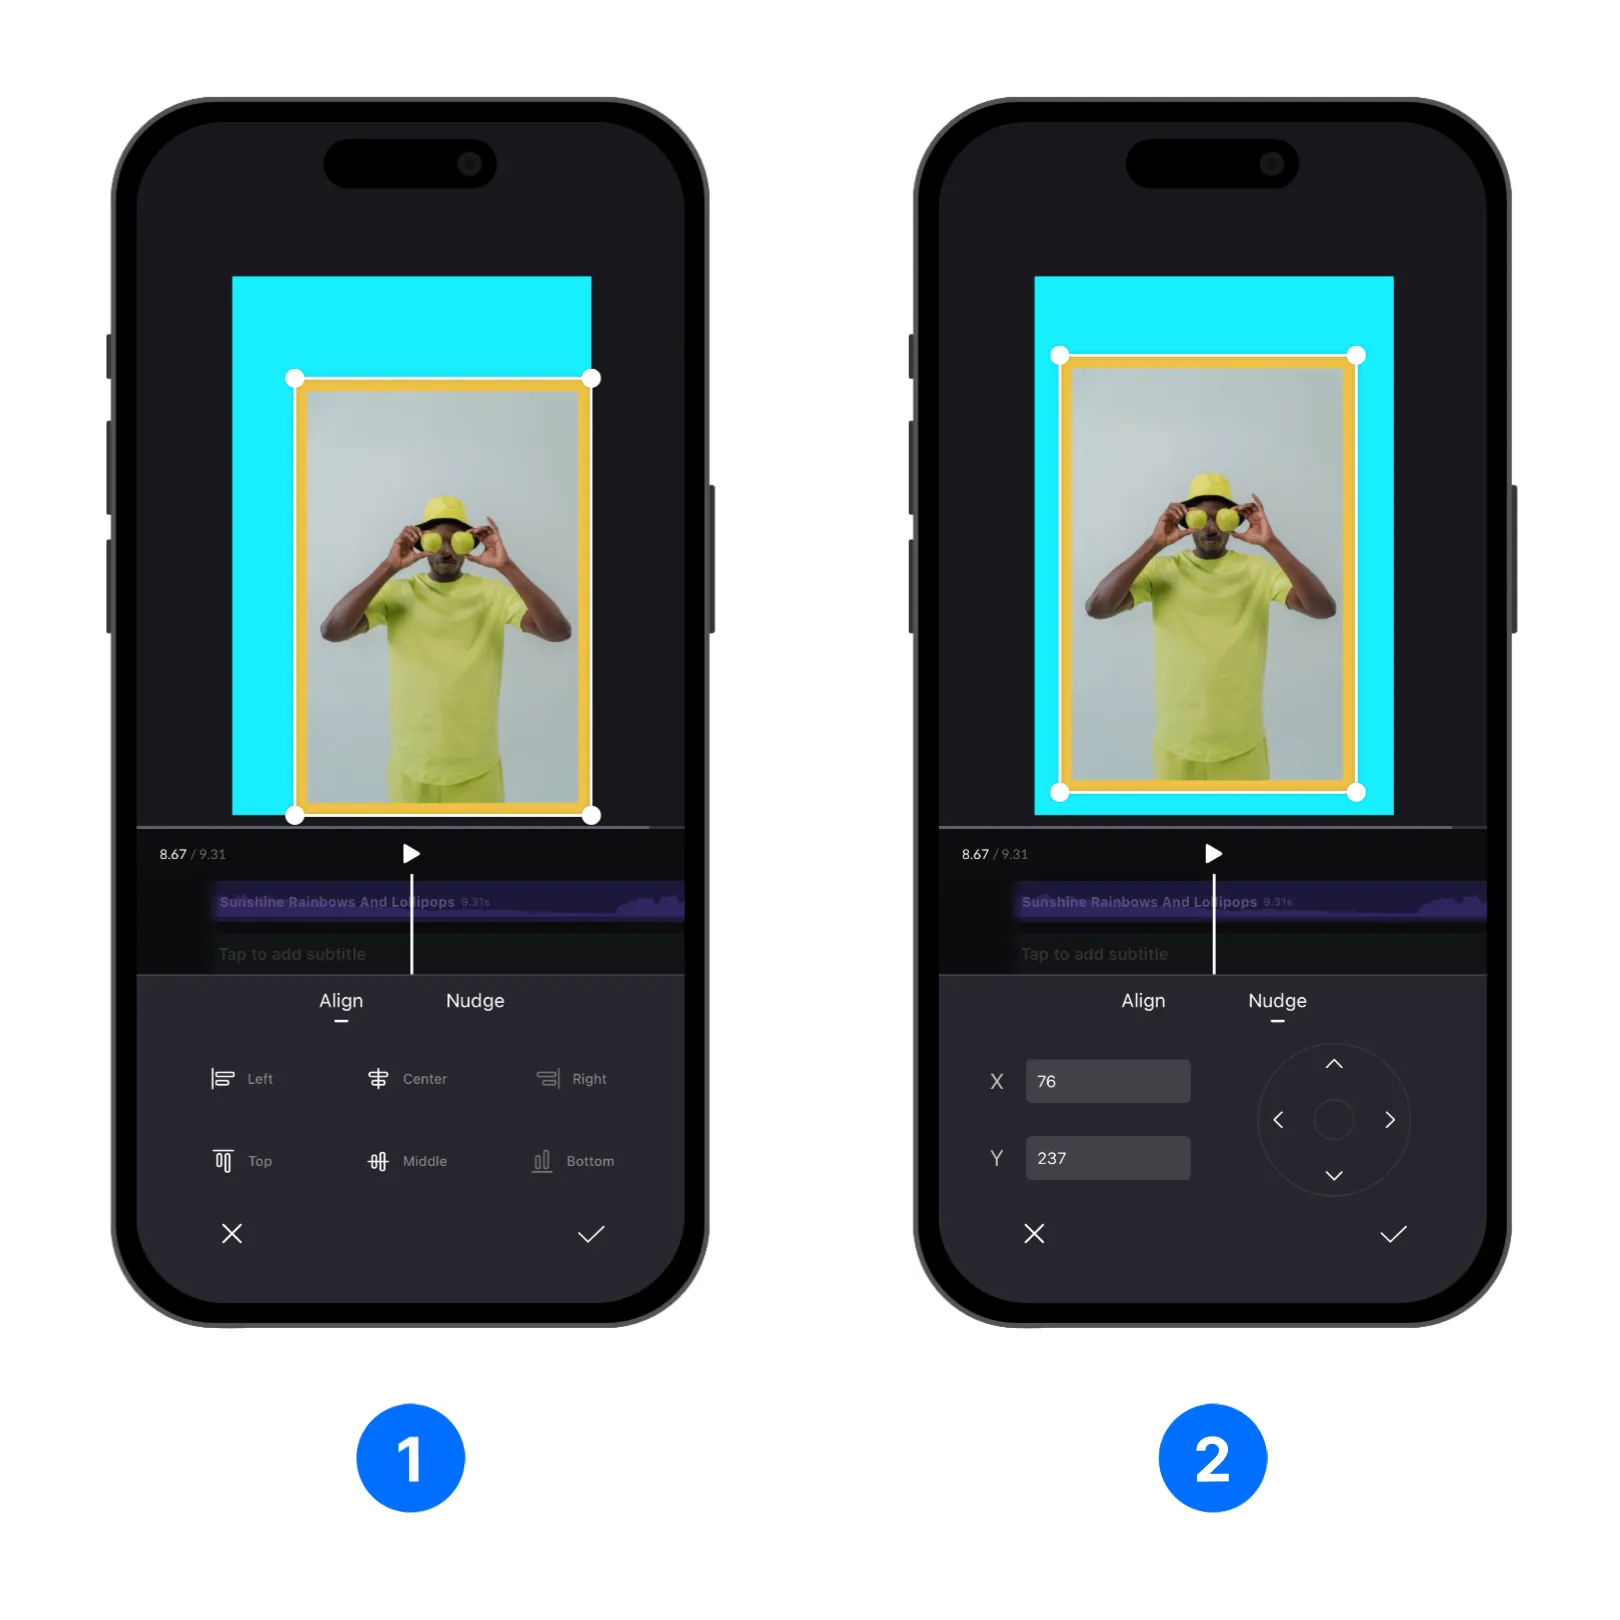
Use [Position] to align an image or clip precisely within the canvas or video frame. It includes two modes:
- [Align] provides preset positions: [Left], [Center], [Right], [Top], [Middle], and [Bottom].
- [Nudge] provides fine control over the image or clip's placement. Enter exact [X] and [Y] values or use the directional controls to make small adjustments.