
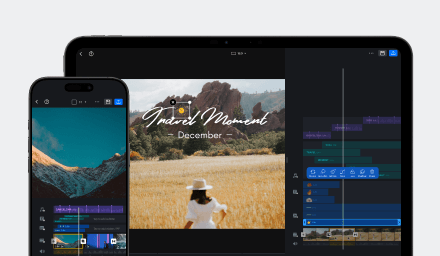
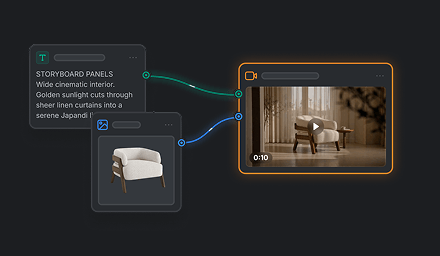
A good template should be easy for another user to understand and customize without changing the elements that define its design. Start by choosing the creation workflow that best matches the content you want users to make.
Choose the Right Template Workflow
VN supports different template workflows designed for different kinds of finished videos. Use the table below to choose the template type that best matches the result you want to create.
| Template type | Best for |
|---|---|
| Standard VN Template | Fully edited videos that combine clips, photos, music, text, effects, transitions, speed changes, keyframes, and detailed timeline control. |
| Flow Template | Collages, invitations, lookbooks, slideshows, and layout-based videos. Learn more in Create a VN Template With Flow. Click HERE to download Flow app. |
| BeatsClips Template | Beat-synced montages, fast-cut reels, trend remakes, and music videos. If you have the music, use From Music. If you want to recreate a video, use From Short Video. |
| AI Template with CawCut | AI-generated commercials, scene transitions, character stories, and special effects. Learn more in Create an AI-Powered VN Template with CawCut. |
The following comparison shows the main capability provided by each workflow.
✅ Primary capability
🔄 Available after continuing in VN
➖ Not Available/Not a primary capability
| Capability | Standard VN | BeatsClips | Flow | CawCut |
|---|---|---|---|---|
| Video based on Music Beats | ➖ | ✅ | ➖ | ➖ |
| Frames | ✅ | ➖ | ✅ | ➖ |
| Grids, Layouts, and Multi-Page | ➖ | ➖ | ✅ | ➖ |
| AI image and video generation | ➖ | ➖ | ➖ | ✅ |
| Detailed VN timeline editing | ✅ | ✅ | 🔄 | 🔄 |
Once your template is ready, follow the guide in the following articles to finalize the template and share it: How to Create a VN Template and How to Share a VN Template.
Use Frames for Replaceable Media
Use Frames for content such as:
- Photos that users should replace with their own images.
- Video clips intended as user footage.
- Poster, cover, or collage image slots.
- Repeated media areas that should keep the same shape and placement.
To add a frame to your VN project: 1. Tap the [Insert] button. 2. Tap [Elements]. 3. Tap [Frames] and select one from the list.
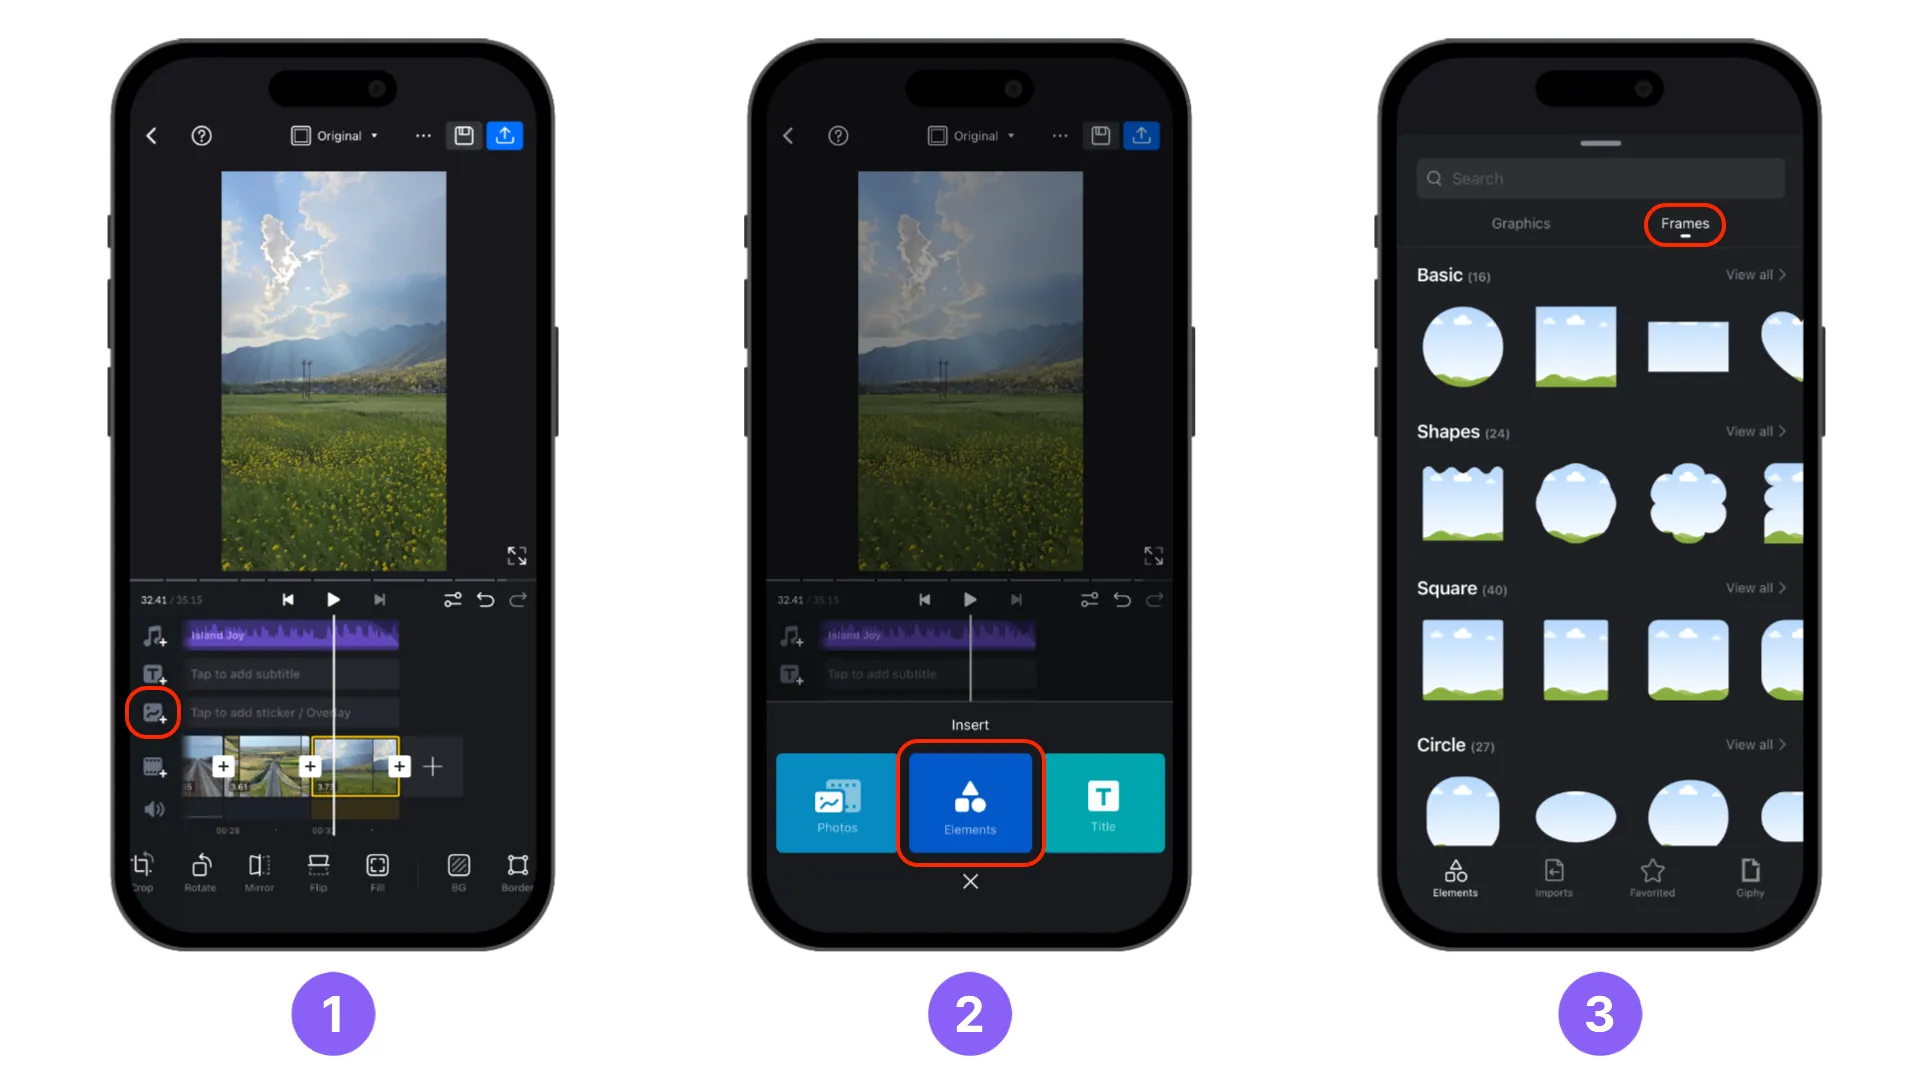
Media placed inside a Frame is automatically selected as user-replaceable when you create the template. This reduces the amount of manual selection required and helps prevent an intended media slot from being left out.
Use Flow for Layout-Based Templates
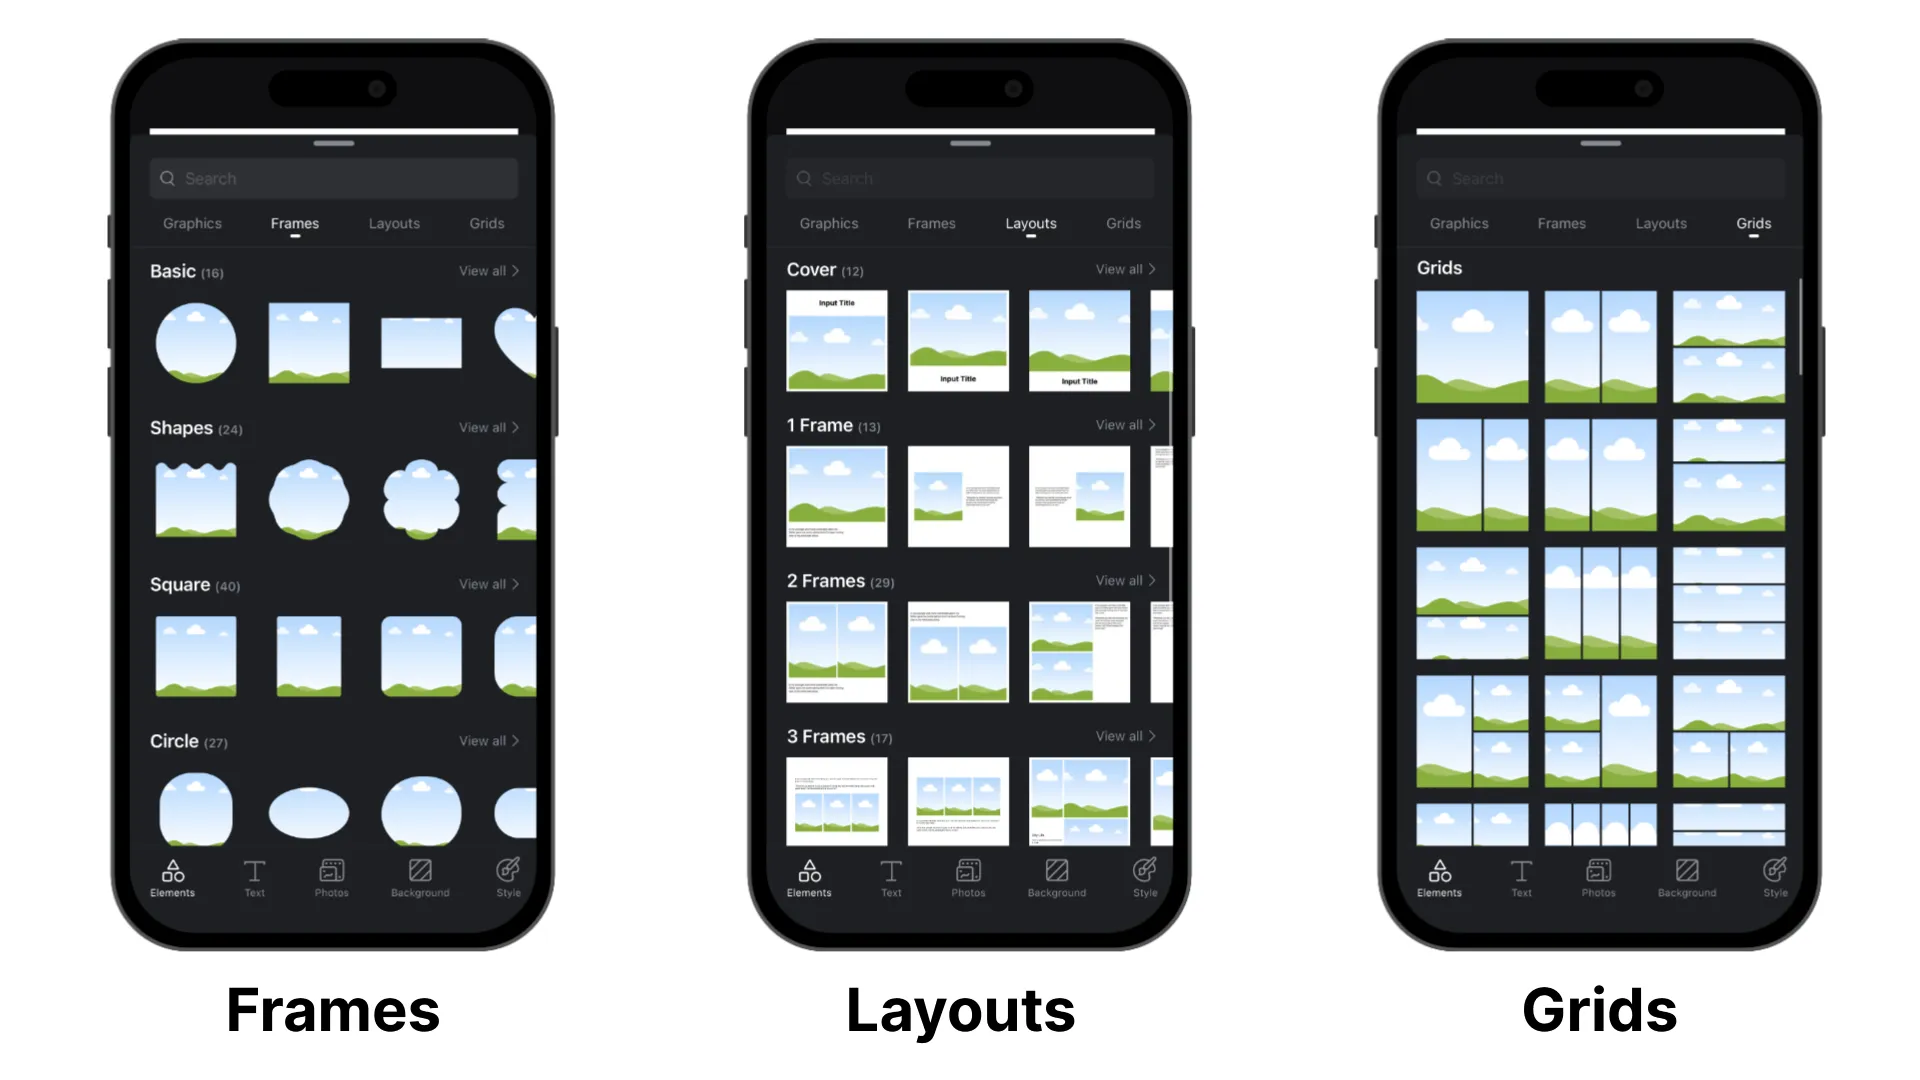
Use the Flow app (Download HERE) when the template is built around a visual layout rather than detailed timeline editing. Flow is well suited to posters, collages, covers, invitations, grids, and multi-page designs because you can arrange text and images directly on a canvas using [Frames], [Layouts], and [Grids].
Use frames, layouts, and grids to create areas that users can replace with their own photos or videos while preserving the layout, crop, and overall design. A Flow design can contain multiple pages, allowing you to build a complete visual sequence in one project.
After exporting your design from the Flow app: 1. Tap the [Make a video with VN] button. 2. Set how long each page will be displayed in the video. 3. Edit the video in the VN app.
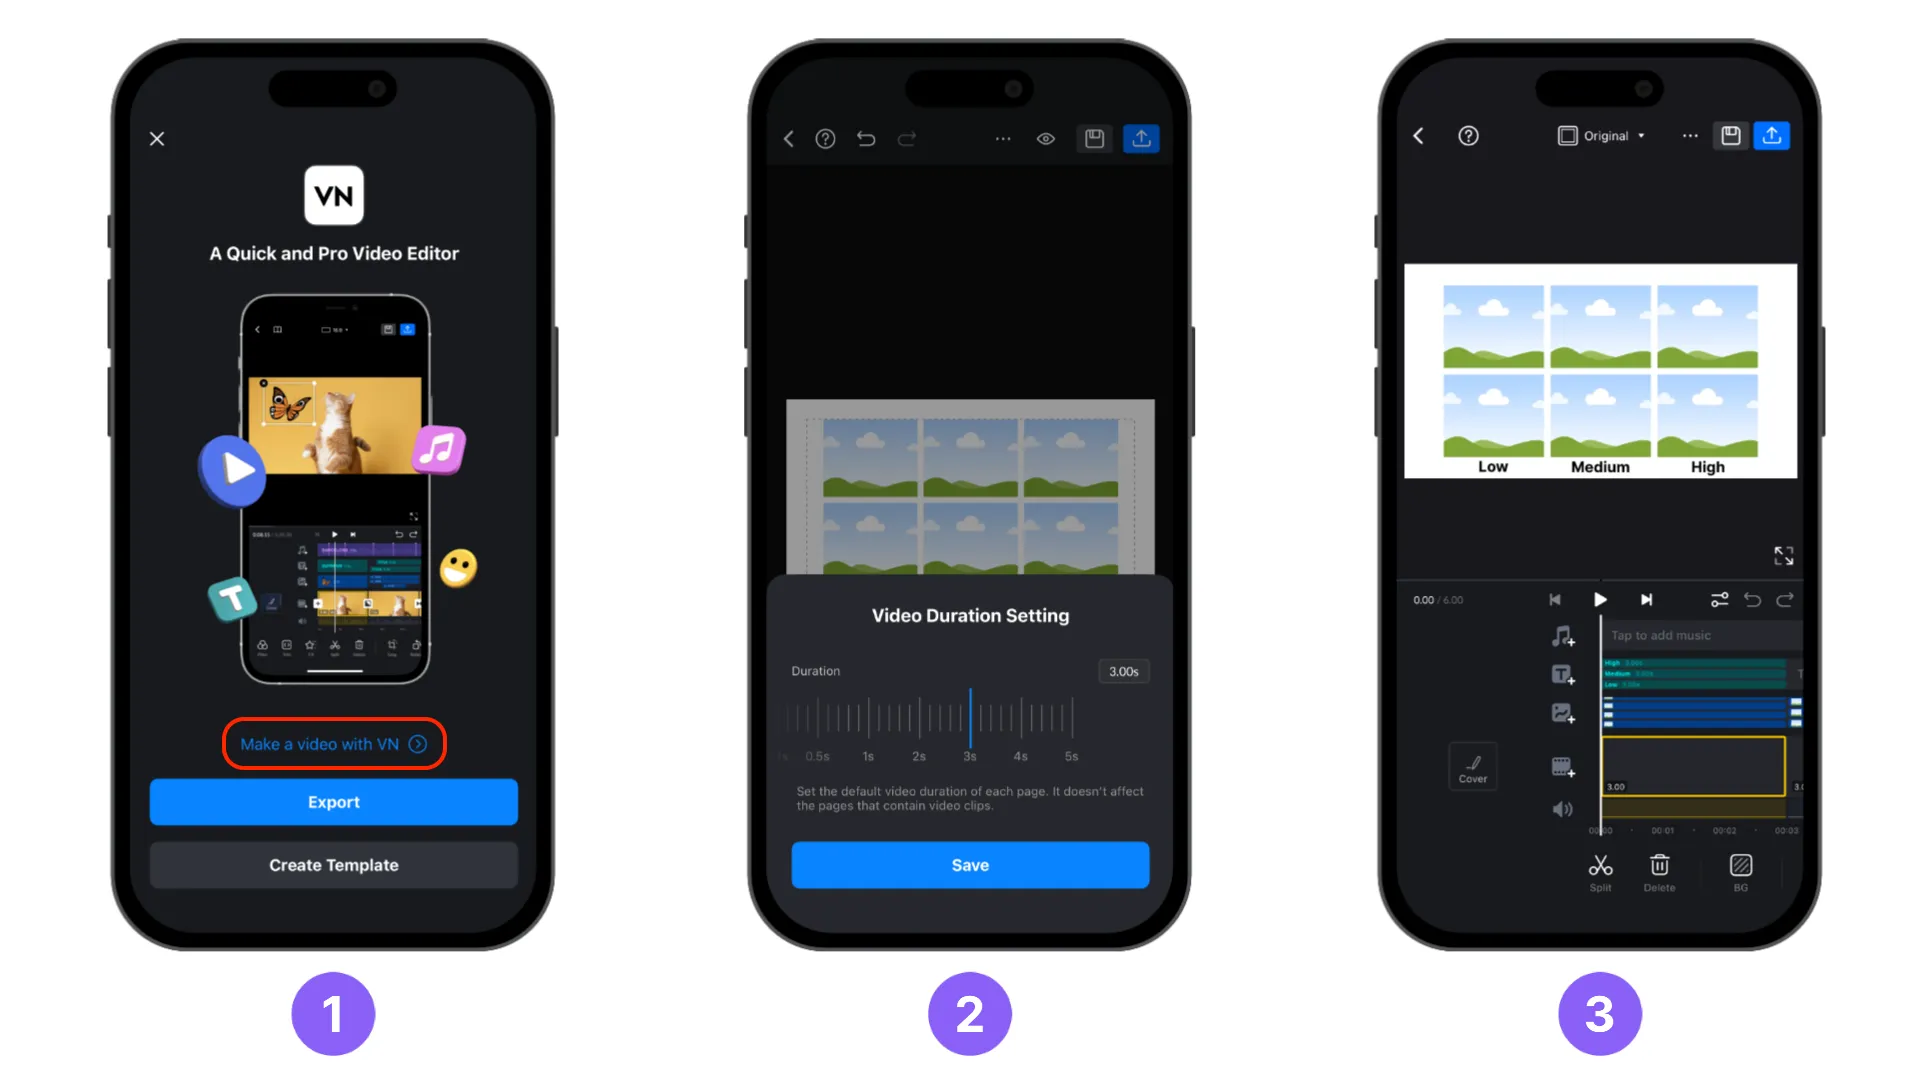
This converts the pages into a VN video project, where you can set the duration of each page, refine the timing, add other video edits, and publish the result as a reusable VN template.
For the complete workflow, including creating pages, preparing replaceable areas, exporting to VN, and publishing the result as a template, see Create a VN Template With Flow.
Use BeatsClips for Beat-Based Templates
Use [BeatsClips] > [From Music] when the template should follow the rhythm of a music track. VN can analyze the selected section and generate beat points automatically, which you can then adjust or supplement manually before publishing.
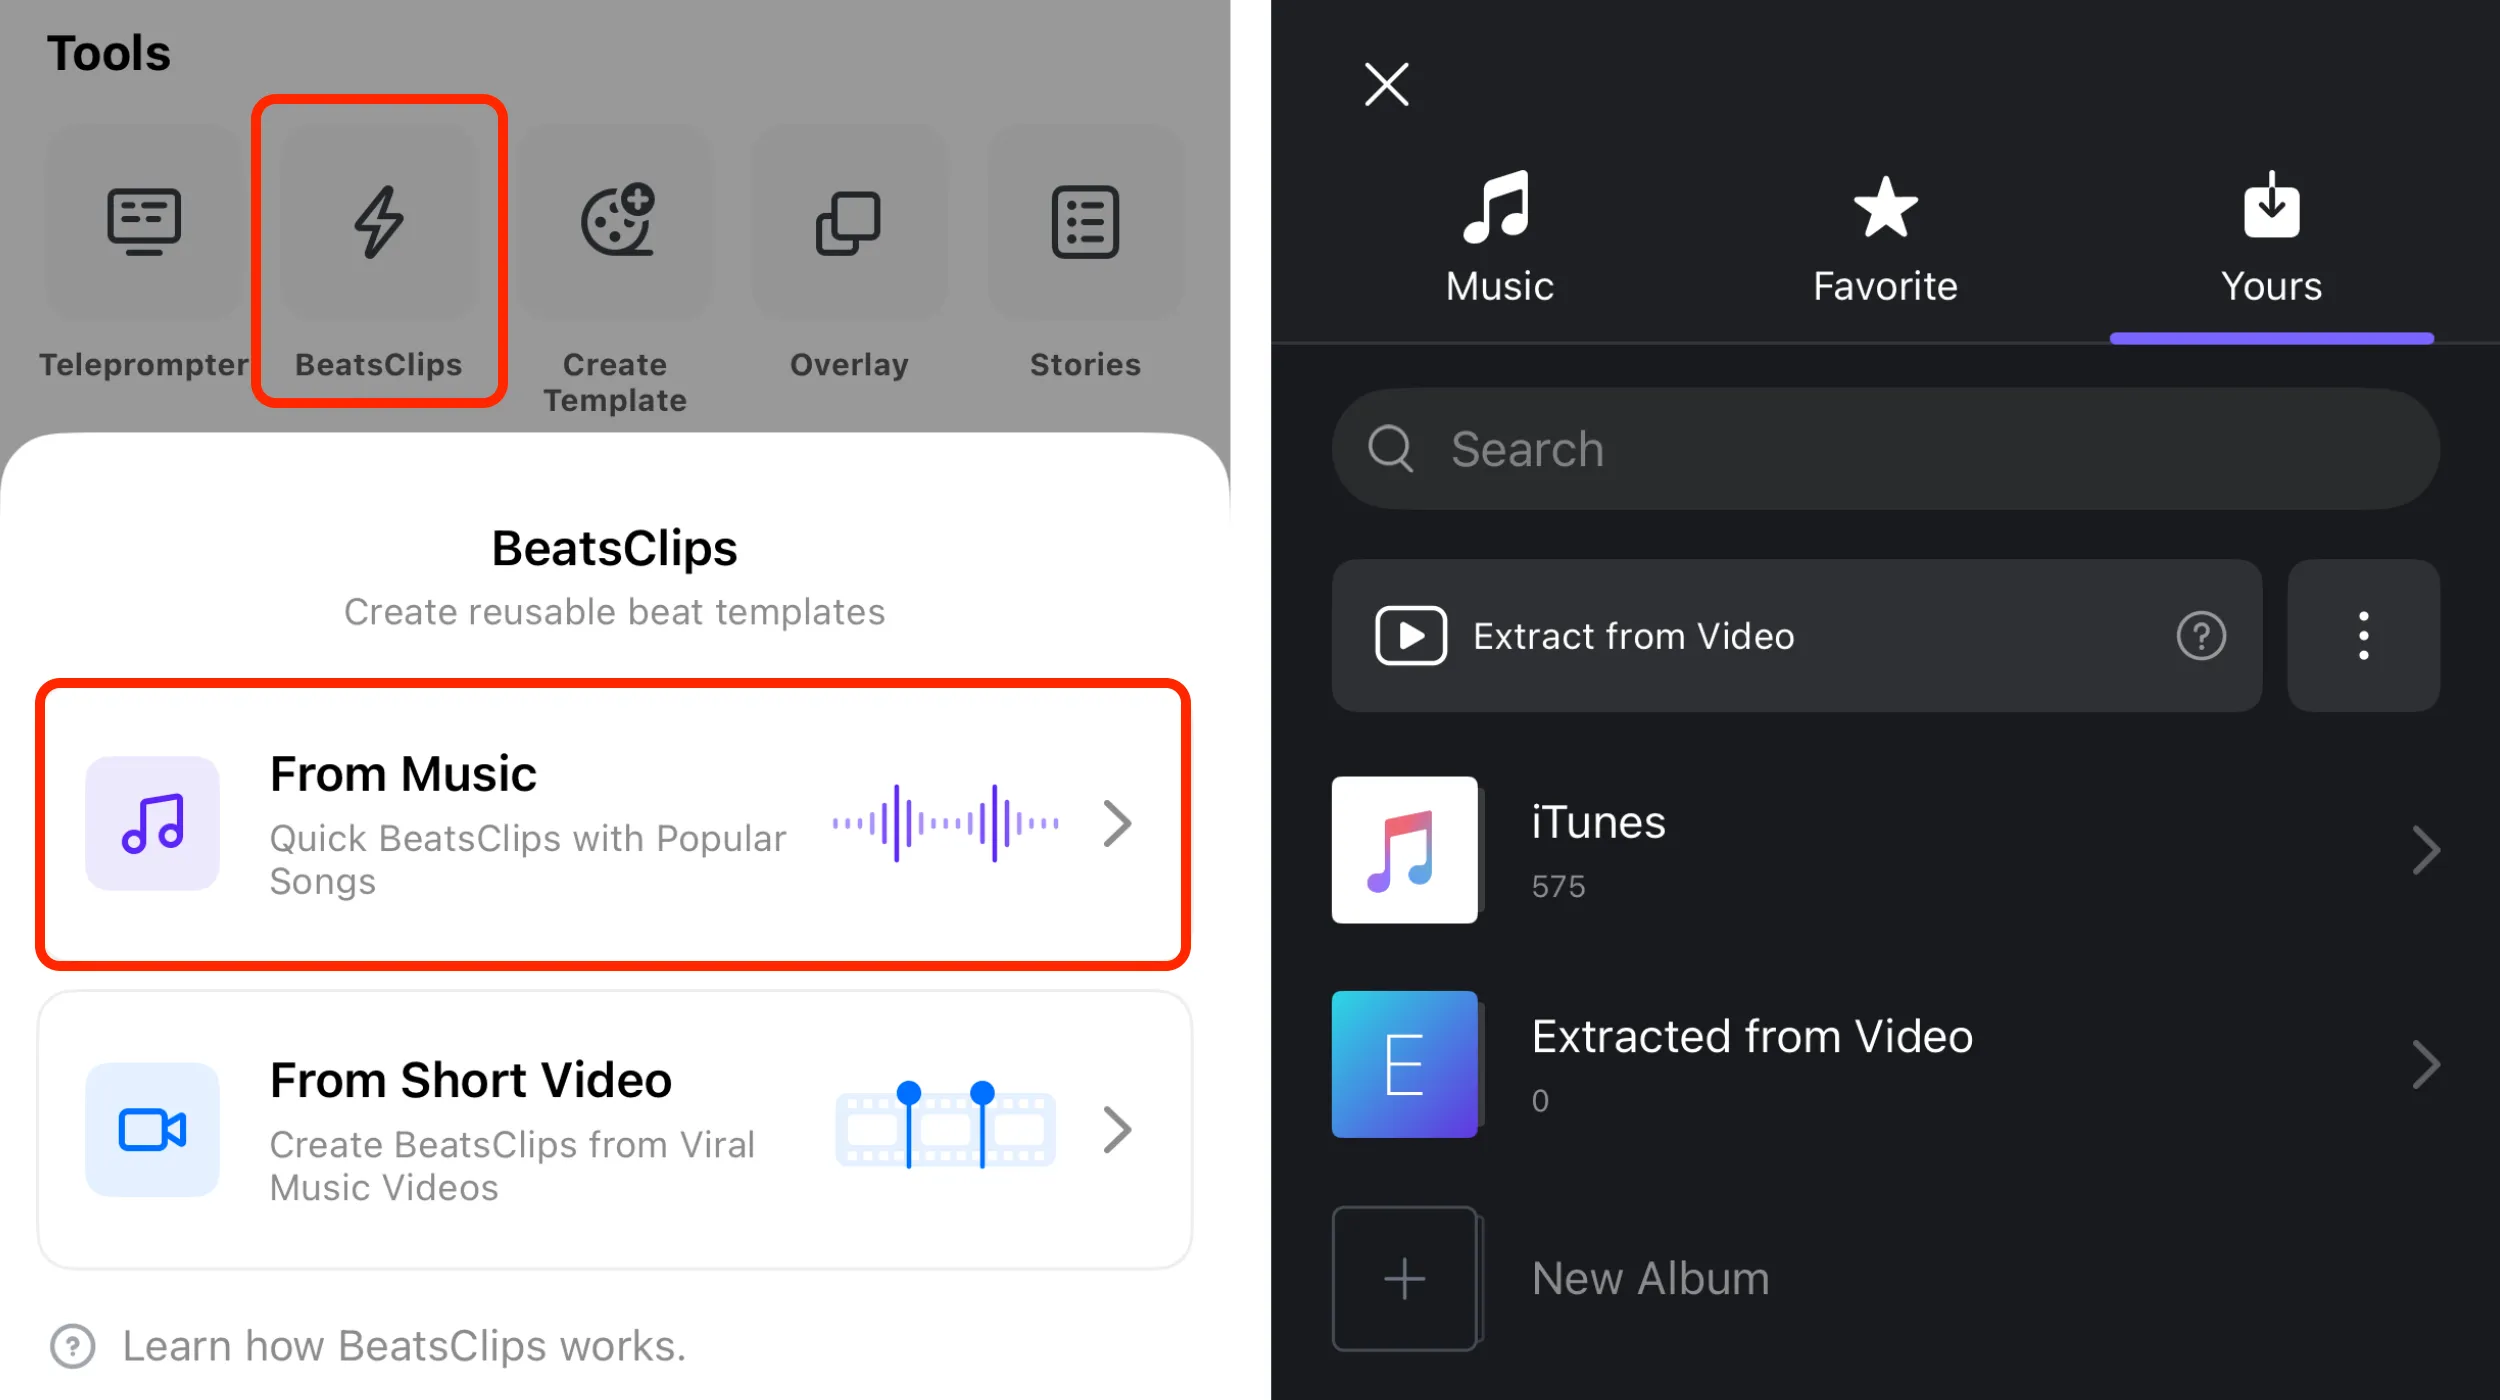
This method works well for photo montages, fast cuts, transitions, and other edits in which media changes should align with the music. For the full creation, publishing, and sharing steps, see Create VN Template with Music.
Effortless Viral Music Video Cloning
Use [BeatsClips] > [From Short Video] when you want to reproduce the timing of an existing viral music video. The reference helps you identify cuts, transitions, and other visual changes so you can place beat points and rebuild the sequence with your own media.
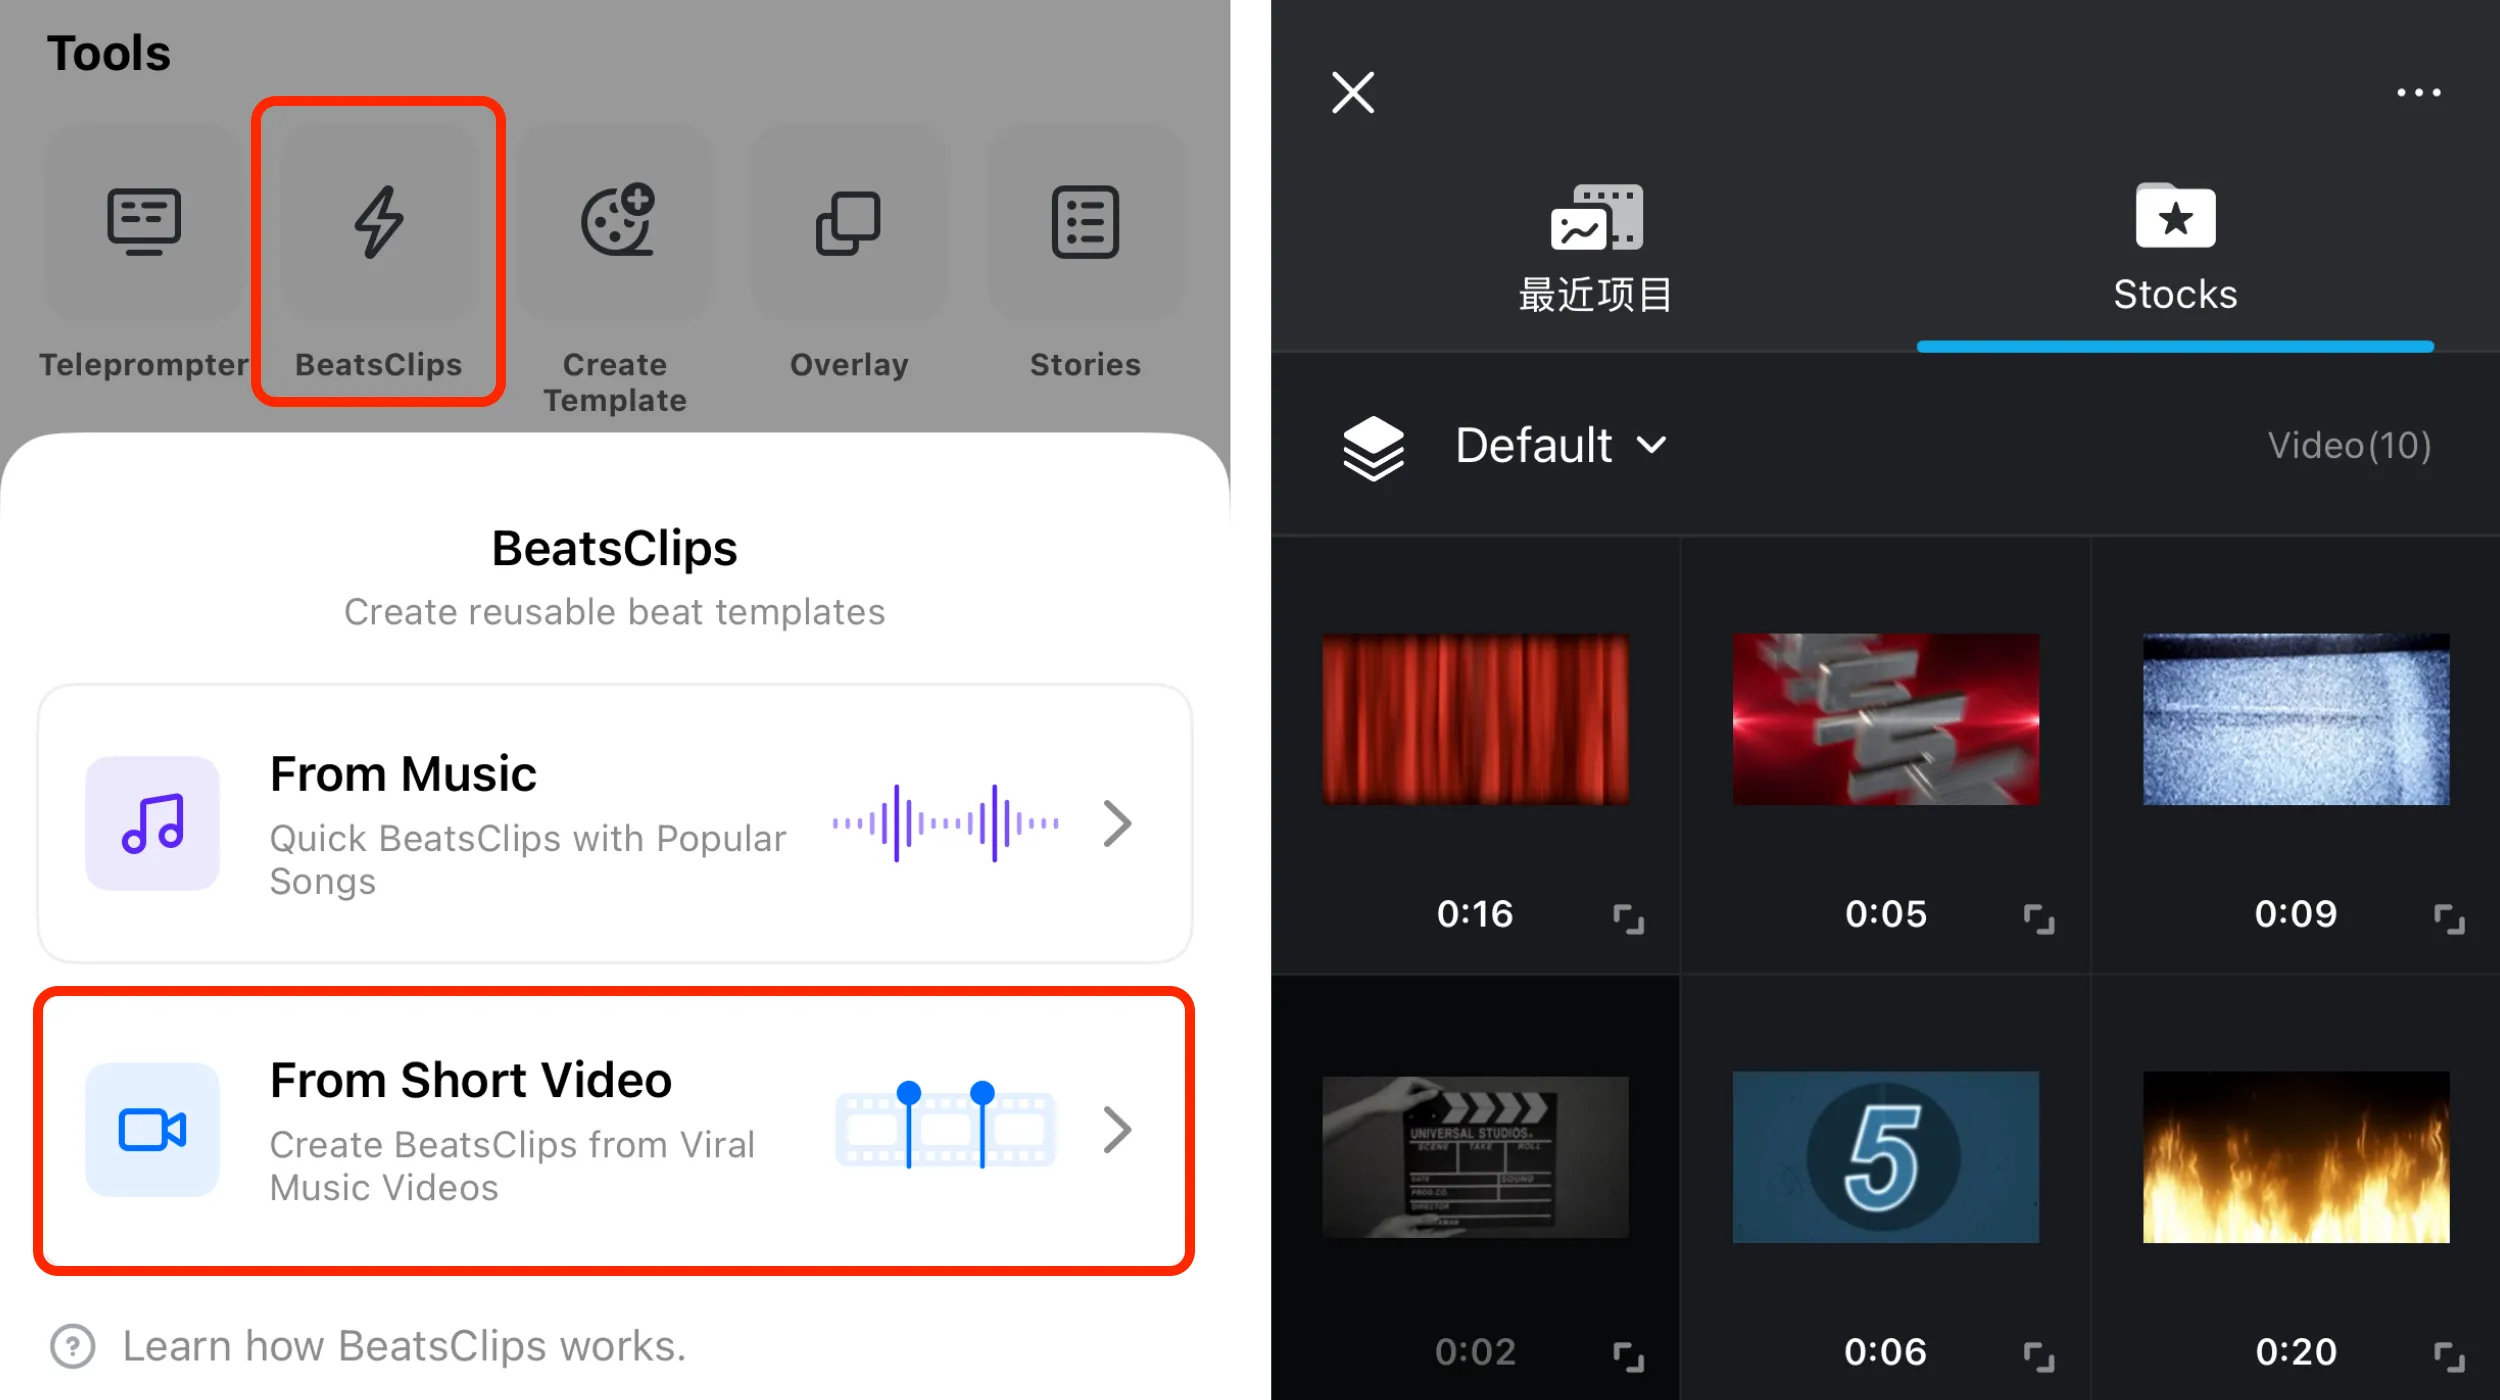
For the complete step-by-step workflow, see Create VN Template with Viral Music Video.
Create AI Templates with CawCut
CawCut templates are useful for projects that require AI-generated images, videos, or highly customized creative workflows. Instead of waiting for a built-in VN feature that may not match your exact needs, you can build a reusable workflow in CawCut and turn its output into a VN template.
This is especially useful for:
- AI-generated advertisements, product showcases, and social media videos.
- Projects that require a consistent visual style, character, or scene.
- Repeating the same customized creation process with different content.
- Creating a workflow once and reusing it in VN while editing on the go.
CawCut gives you more control over how the source content is generated, while VN provides the tools to finish the edit, add music and text, and prepare the final video. For detailed instructions, see Create an AI-Powered VN Template with CawCut.
Review Before Sharing
Before creating and sharing the template, use it to create another video and review the project from an end user's perspective. A final test helps ensure that the template is easy to customize and produces consistent results with different replacement media.